UPDATE: 2026-04-14
Intro
A Tesla released Tesla OS 2020.48.26 (aka the “Holiday Update” for 2020) which included several new features and games. One of the more popular features was Tesla Boombox which allowed owners to play several included sounds plus up to 5 custom sounds over the external Pedestrian Warning Speaker (PWS). They have also since released the ability to set custom Lock Sounds. To get the most out of your Tesla USB storage device, I have included instructions below that explain how to partition your USB storage device to take advantage of the following features:
- Boombox (Custom sounds)
- Dashcam (recording while the car is in motion)
- Light Show
- Paint Shop (Custom license plates, vehicle wraps, etc.)
- Sentry Mode (recording while the car is parked)
- USB Music
Depending on the operating system of your computer, the setup steps may vary so I have put together two sets of instructions, one for macOS and another for Windows. If you are looking for a great app to cut sound files to your liking, I strongly recommend Audacity which is free and can be found here. I hope you find this guide useful and if you run into any snags along the way please feel free to comment or hit me up on X @dburkland.
Boombox & Custom Lock Sound Setup Steps
macOS (CLI)
- Connect the USB drive to your Mac machine.
- Open “Terminal” app which can be found in the “Utilities” folder underneath “Applications”.
- Determine which device is your USB drive
# diskutil list
- Create the appropriate partitions on the USB drive
# diskutil partitionDisk /dev/disk4 GPT fat32 BOOMBOX 1G fat32 LIGHTSHOW 1G fat32 PAINTSHOP 1G fat32 MUSIC 100G fat32 TESLACAM R- NOTE: Replace disk4 with the disk ID of your USB drive that you retrieved from the “diskutil list” command above. Also, depending on how much MUSIC you want to store on the USB storage device, adjust the 100G to whatever fits.
- Verify the USB drive was partitioned & formatted correctly
# diskutil list
- Create the appropriate directories on the USB drive
# sudo mkdir /Volumes/TESLACAM/TeslaCam# sudo mkdir /Volumes/BOOMBOX/Boombox# sudo mkdir /Volumes/LIGHTSHOW/LightShow# sudo mkdir /Volumes/PAINTSHOP/LicensePlate# sudo mkdir /Volumes/PAINTSHOP/Wraps
- Boombox
- Copy up to (5) sound files (mp3, wav, etc) to the “/Volumes/BOOMBOX/Boombox” folder.
- Copy up to (1) sound file (wav) to the “/Volumes/BOOMBOX” folder. Make sure this file is named LockChime.wav.
- Light Show
- Copy the light show files (fseq) to the “/Volumes/LIGHTSHOW/LightShow” folder.
- Paint Shop
- Copy the license plate image file to the “/Volumes/PAINTSHOP/LicensePlate” folder.
- NOTE: The license plate file must have a filename less than or equal to 32 characters, be a PNG file, and have a resolution of 420x200.
- Copy the wrap file(s) to the “/Volumes/PAINTSHOP/Wraps”.
- Copy the license plate image file to the “/Volumes/PAINTSHOP/LicensePlate” folder.
- Cleanly eject all Tesla USB partitions using Finder.
macOS (GUI)
- Connect the USB drive to your Mac machine.
- Open “Disk Utility” app which can be found in the “Utilities” folder underneath “Applications”.
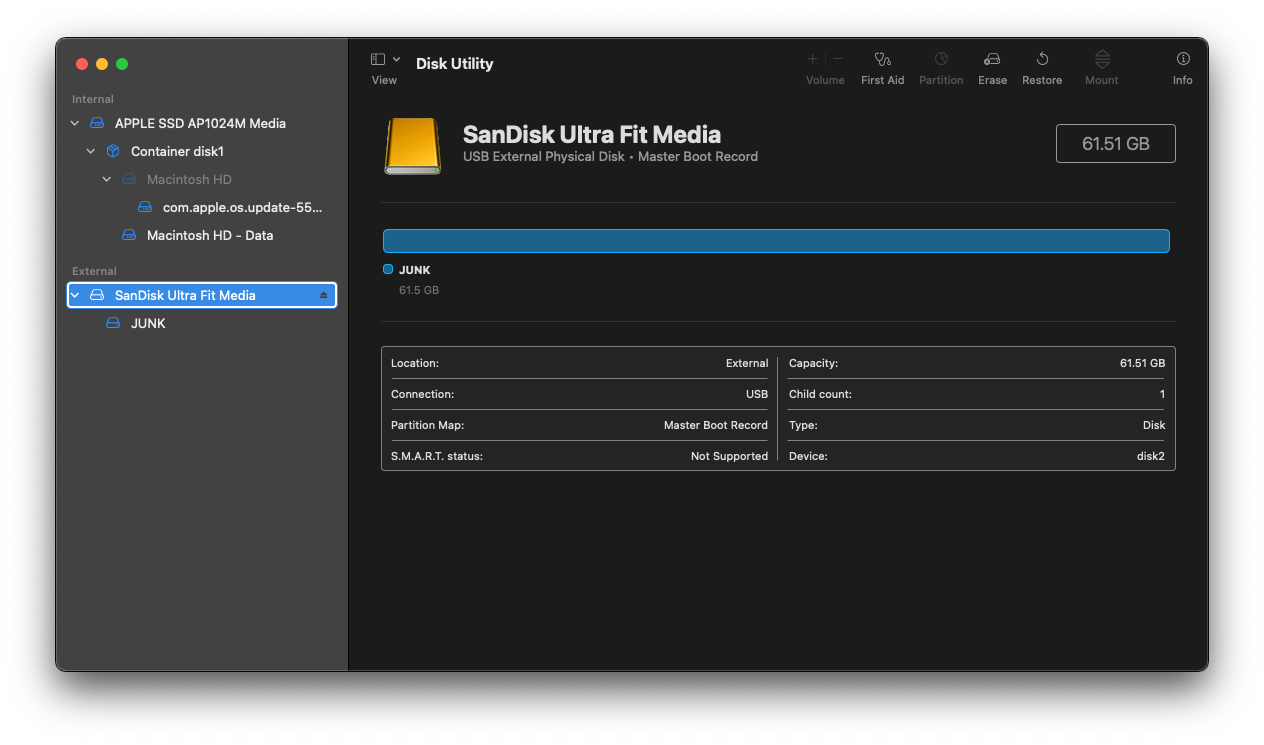
- You should see your USB drive under the “External” section. If you do not see the drive please reconnect it.
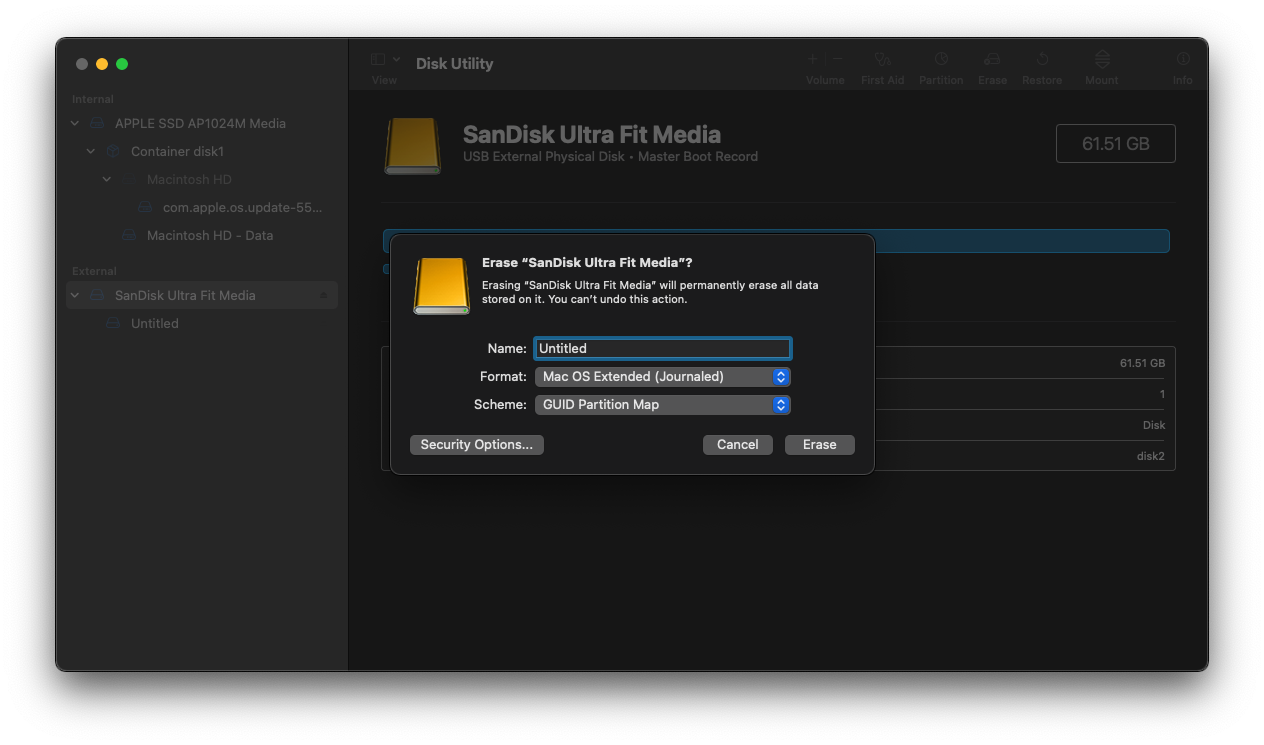
- Click on the USB drive right underneath “External” and then click the “Erase” button in the upper right
- NOTE: The next step will wipe your USB drive so please ensure you evacuate ALL important data off of the drive before continuing.
- Make the following sections and then click “Erase” to continue.
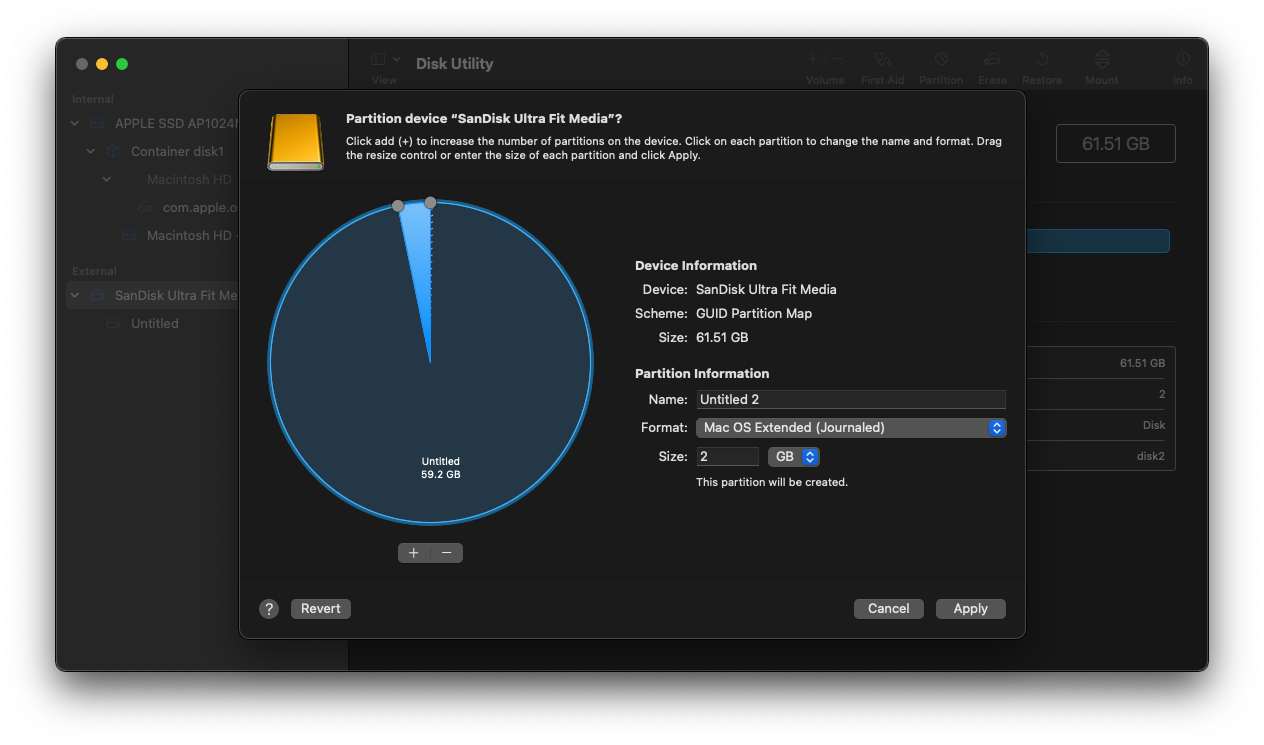
- Once the USB drive has been formatted please again select your USB drive underneath “External” and then click “Partition”.
- Click the “+” button, make the following selections and then click “Apply” to create a new partition. When prompted please click “Partition” and eventually “Done” to continue.
- NOTE: If you would like to create a partition for Paint Shop (custom license plates, vehicle wraps, etc.) and/or USB music, please re-do the previous step. For the music partition you will need to specify a larger partition size to match the size of your music files.
- With at least 2 partitions created, we now need to convert each of them to ExFAT since Teslas are not able to mount HFS volumes. To do this please select your USB drive underneath “External” and then click “Partition”.
- Click on the smallest partition (aka “Untitled 2”) and make the following selections but do NOT click “Apply” just yet.
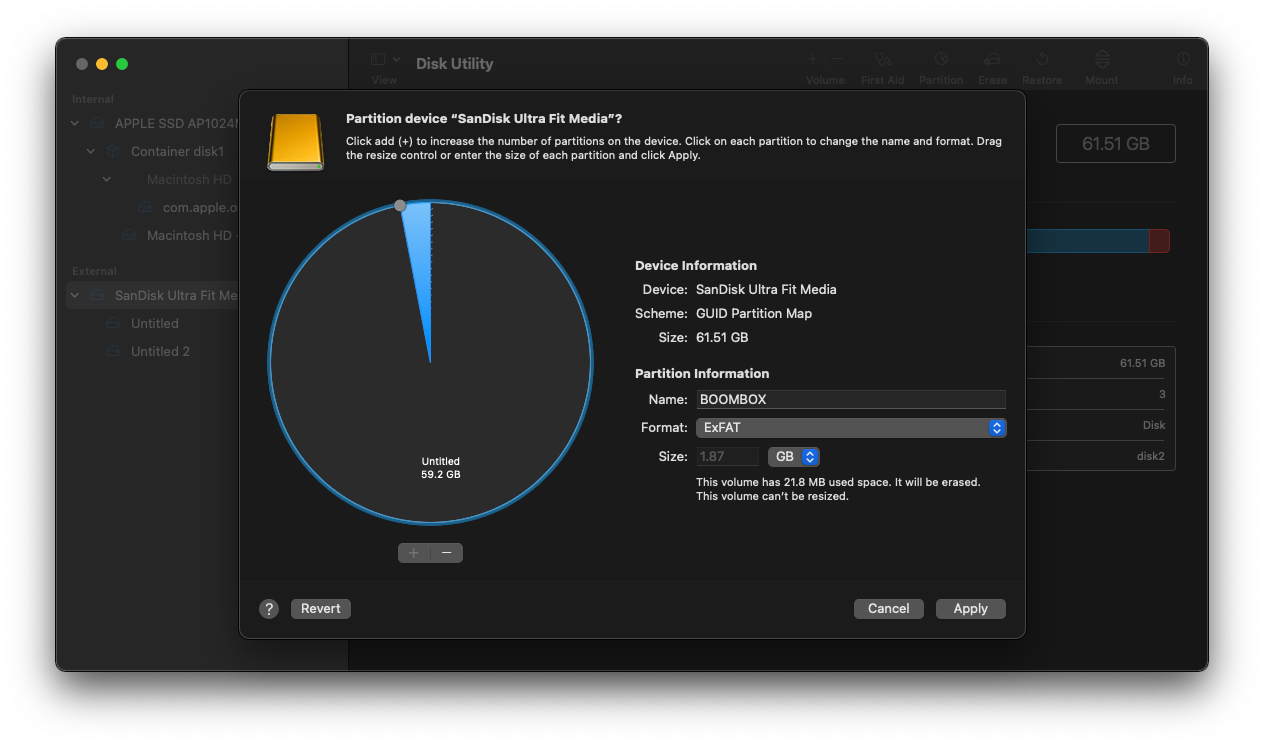
- Next we will need you to click on the larger partition (aka “Untitled”) and make the following selections.
- NOTE: Please do the same for the 3rd partition (aka “Untitled 3”) if you are planning on copying music files over to the USB drive.
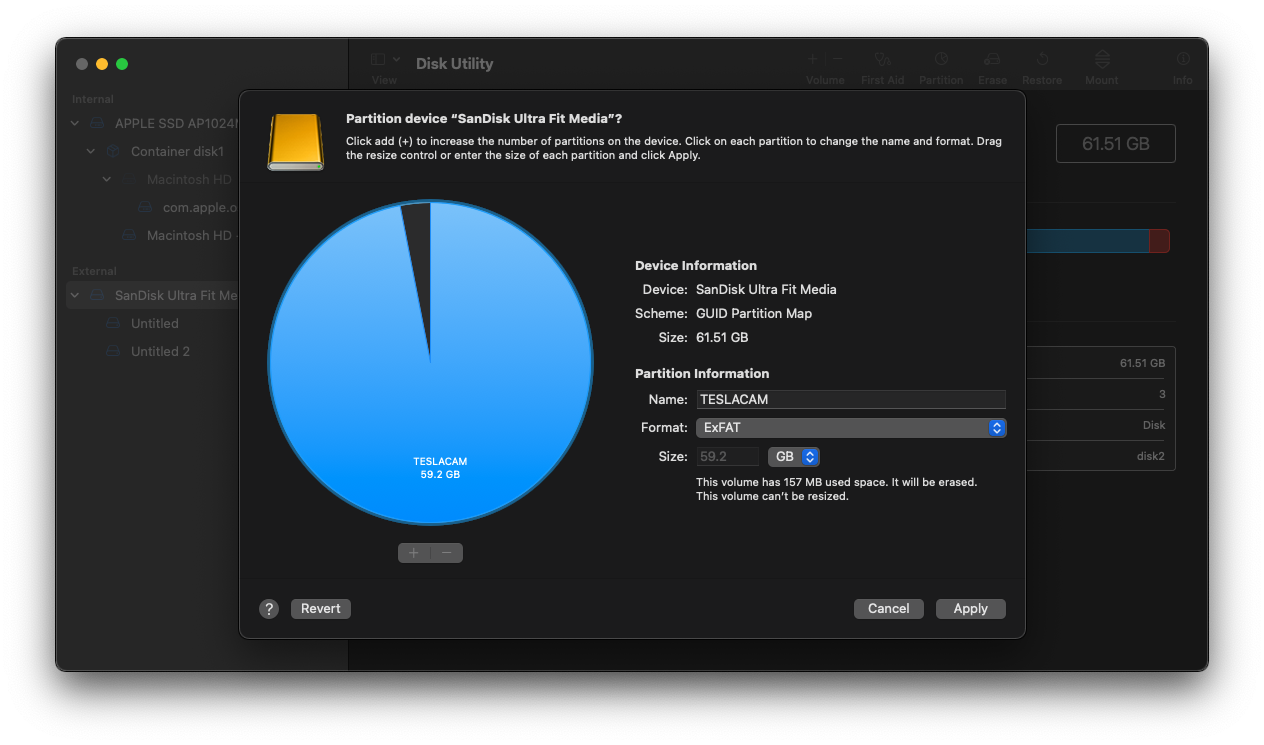
- When you are ready, please click “Apply” to make the appropriate changes. When prompted you will again need to click “Partition” and “Done” to continue.
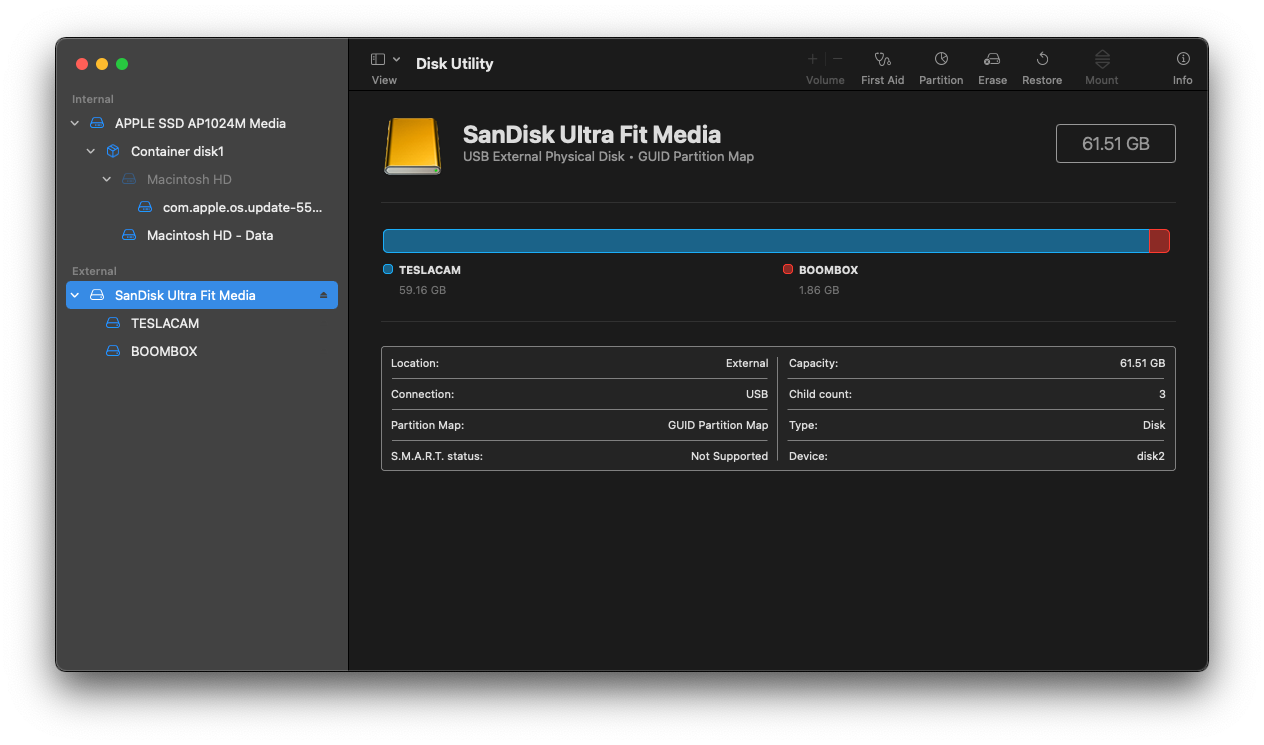
- At this point you should see at least 2 partitions as seen in the screenshot below:
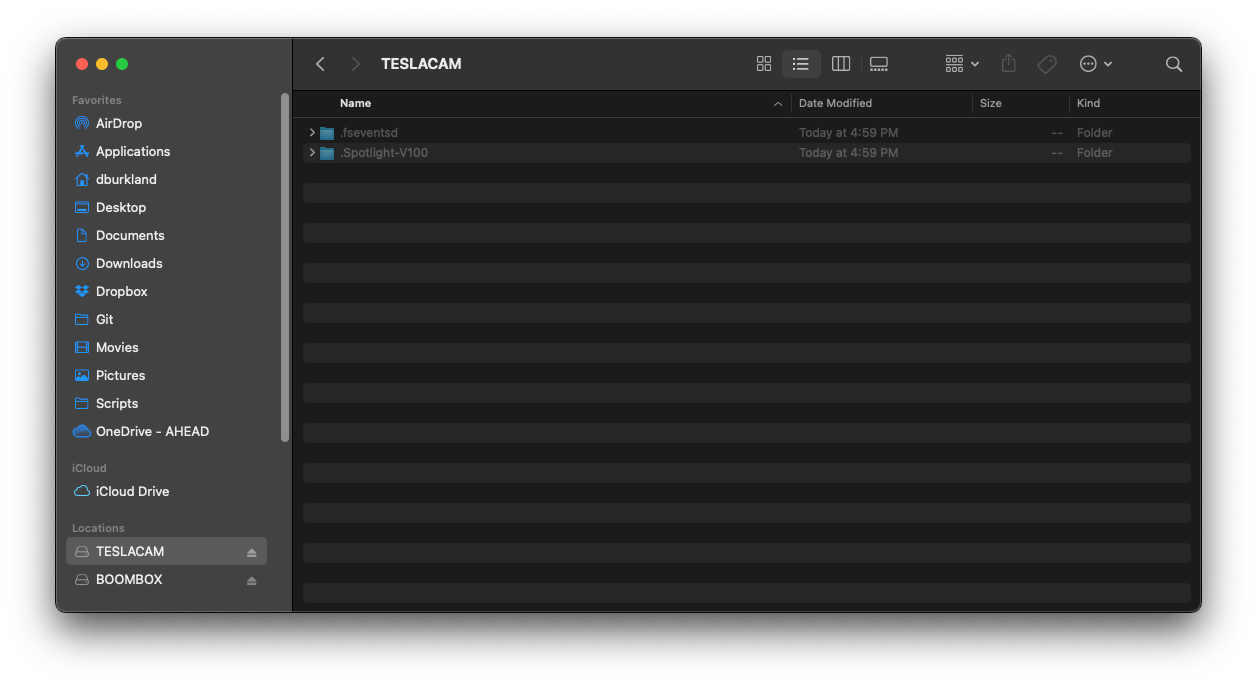
- With “Finder” now open, click on “TESLACAM” on the left hand side under “Locations”.
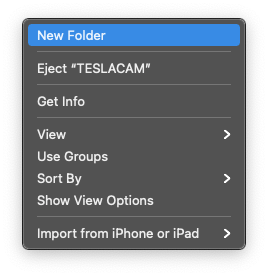
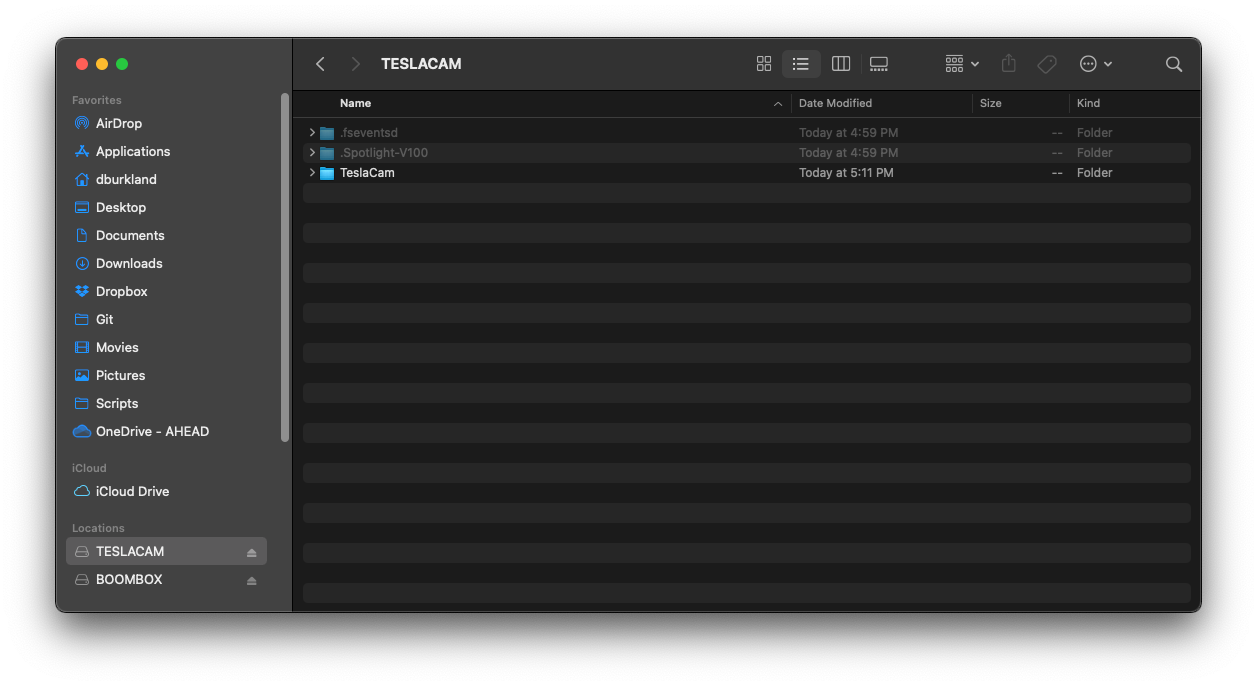
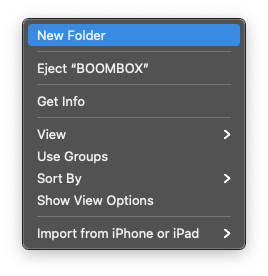
- Right click in the empty area of the window, select “New Folder”, and name it “TeslaCam”.
- With the “TESLACAM” partition now ready for use, we are now ready to move onto the “BOOMBOX” partition.
- Boombox
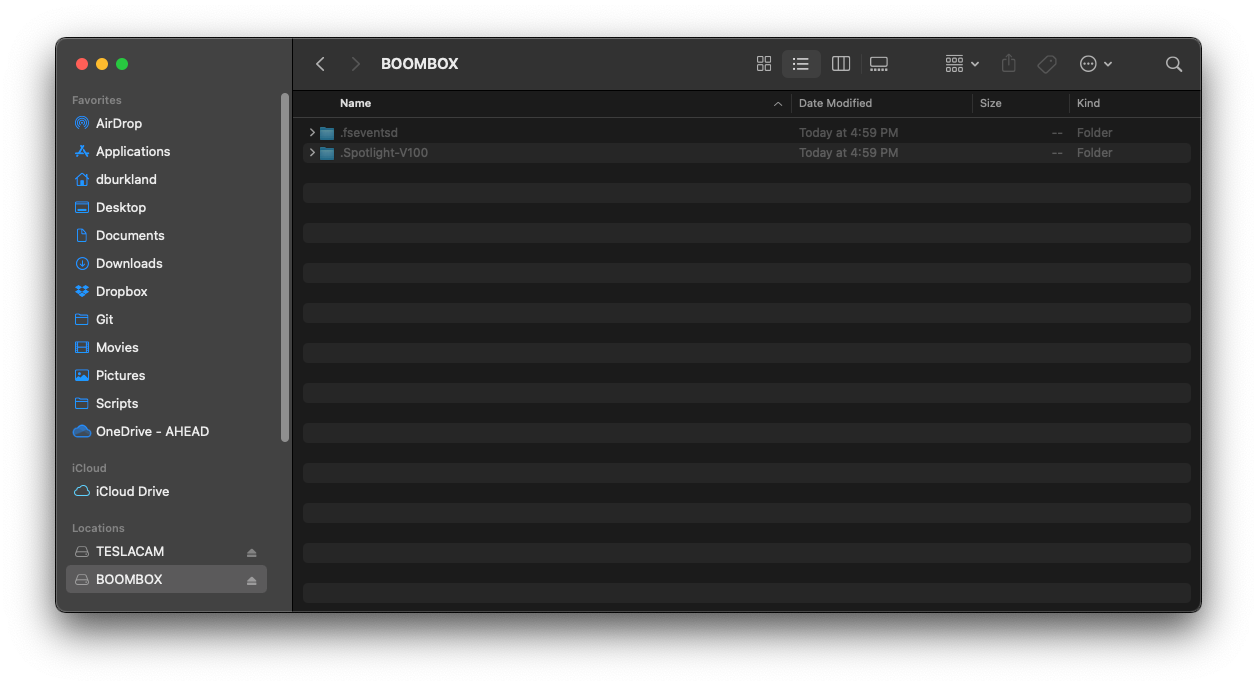
- Please click on “BOOMBOX” on the left hand side under “Locations”.
- Right click in the empty area of the window, select “New Folder”, and name it “Boombox”.
- Copy up to (5) sound files (mp3, wav, etc) to the “Boombox” folder.
- Copy up to (1) sound file (wav) to the root of the “BOOMBOX” drive. Make sure this file is named LockChime.wav.
- Please click on “BOOMBOX” on the left hand side under “Locations”.
- Light Show
- Please click on “LIGHTSHOW” on the left hand side under “Locations”.
- Right click in the empty area of the window, select “New Folder”, and name it “LightShow”.
- Copy up the lightshow files (fseq) to the “LightShow” folder.
- NOTE: Only 1 custom LightShow is allowed in the folder at a given time.
- Paint Shop
- Please click on “PAINTSHOP” on the left hand side under “Locations”.
- Right click in the empty area of the window, select “New Folder”, and name it “LicensePlate”.
- Right click in the empty area of the window, select “New Folder”, and name it “Wraps”.
- Copy the license plate image file to the “LicensePlate” folder.
- NOTE: The license plate file must have a filename less than or equal to 32 characters, be a PNG file, and have a resolution of 420x200.
- Copy the wrap file(s) to the “Wraps” folder.
- Cleanly eject all Tesla USB partitions using Finder.
Windows
- Connect the USB drive to your Windows machine.
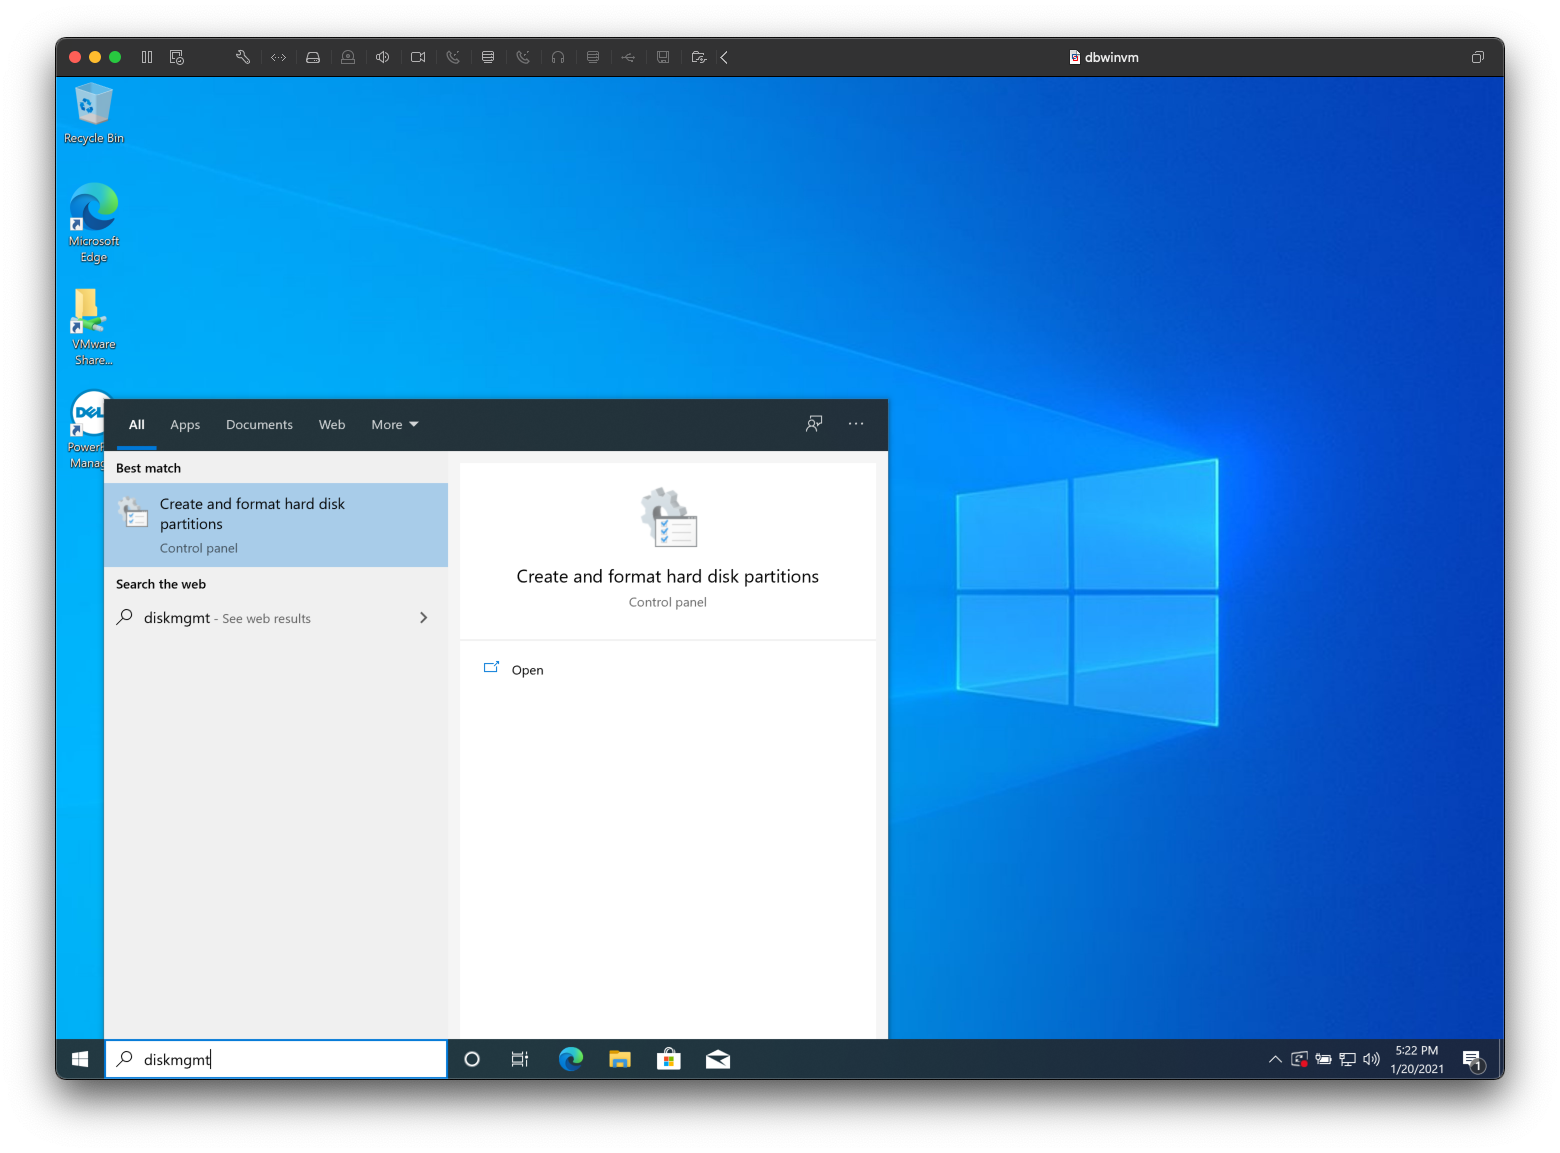
- Open “Disk Management” by clicking the “Windows” icon, typing “diskmgmt”, and then by selecting “Create and format hard disk partitions” from the list.
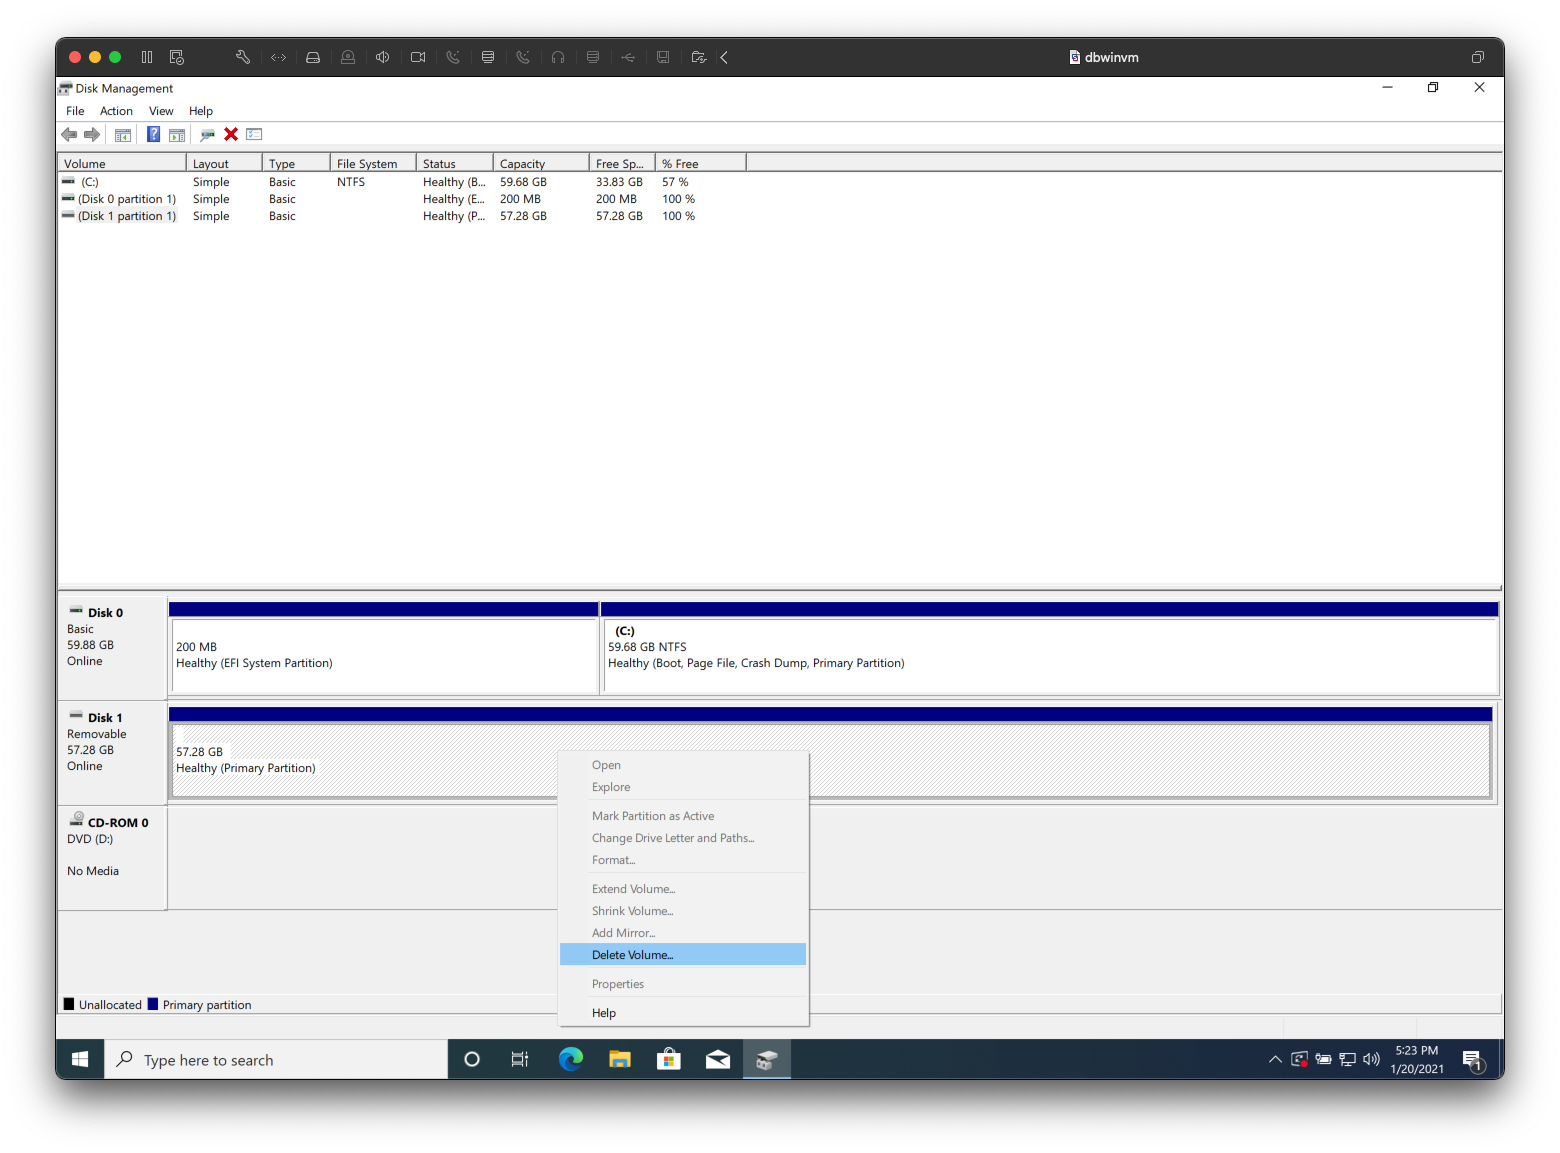
- You should see your USB drive which should be labeled something like “Disk 1”. If you do not see the drive please reconnect it.
- NOTE: The next step will wipe your USB drive so please ensure you evacuate ALL important data off of the drive before continuing.
- Delete any volumes currently on the USB drive by right clicking where it says “Primary Partition” next to “Disk 1” and selecting “Delete Volume…". When prompted you will need to click “Yes” to continue.
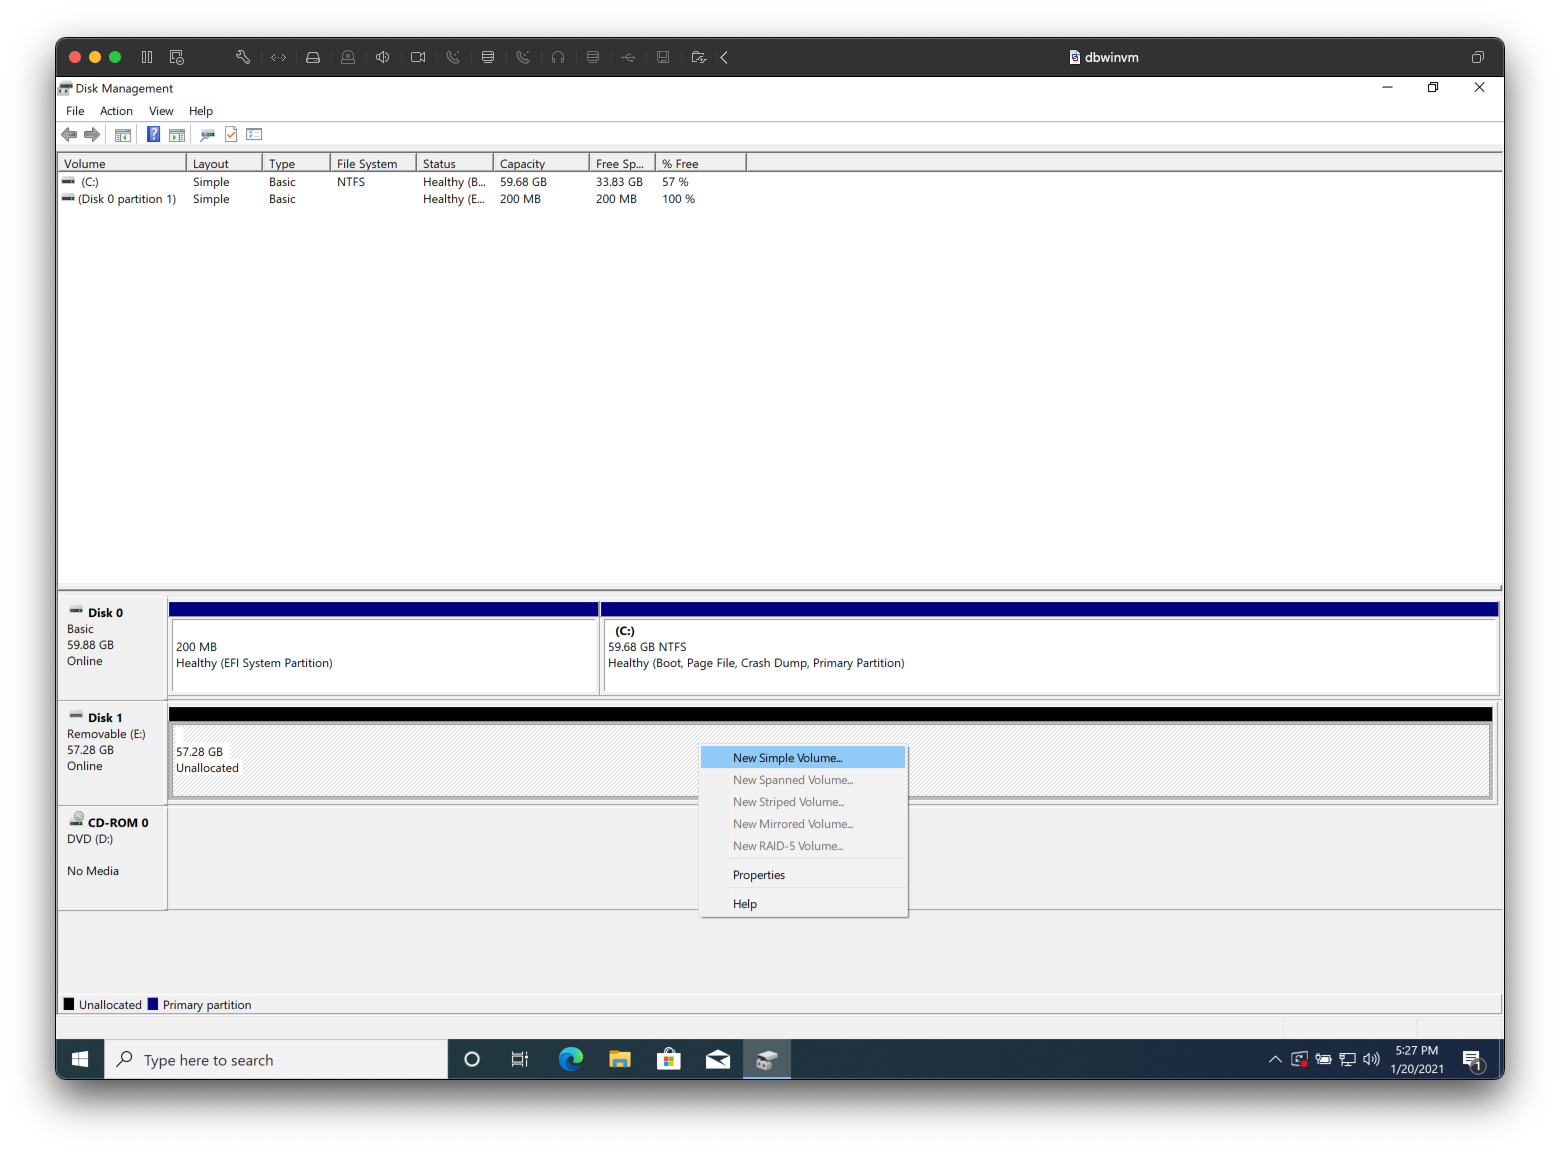
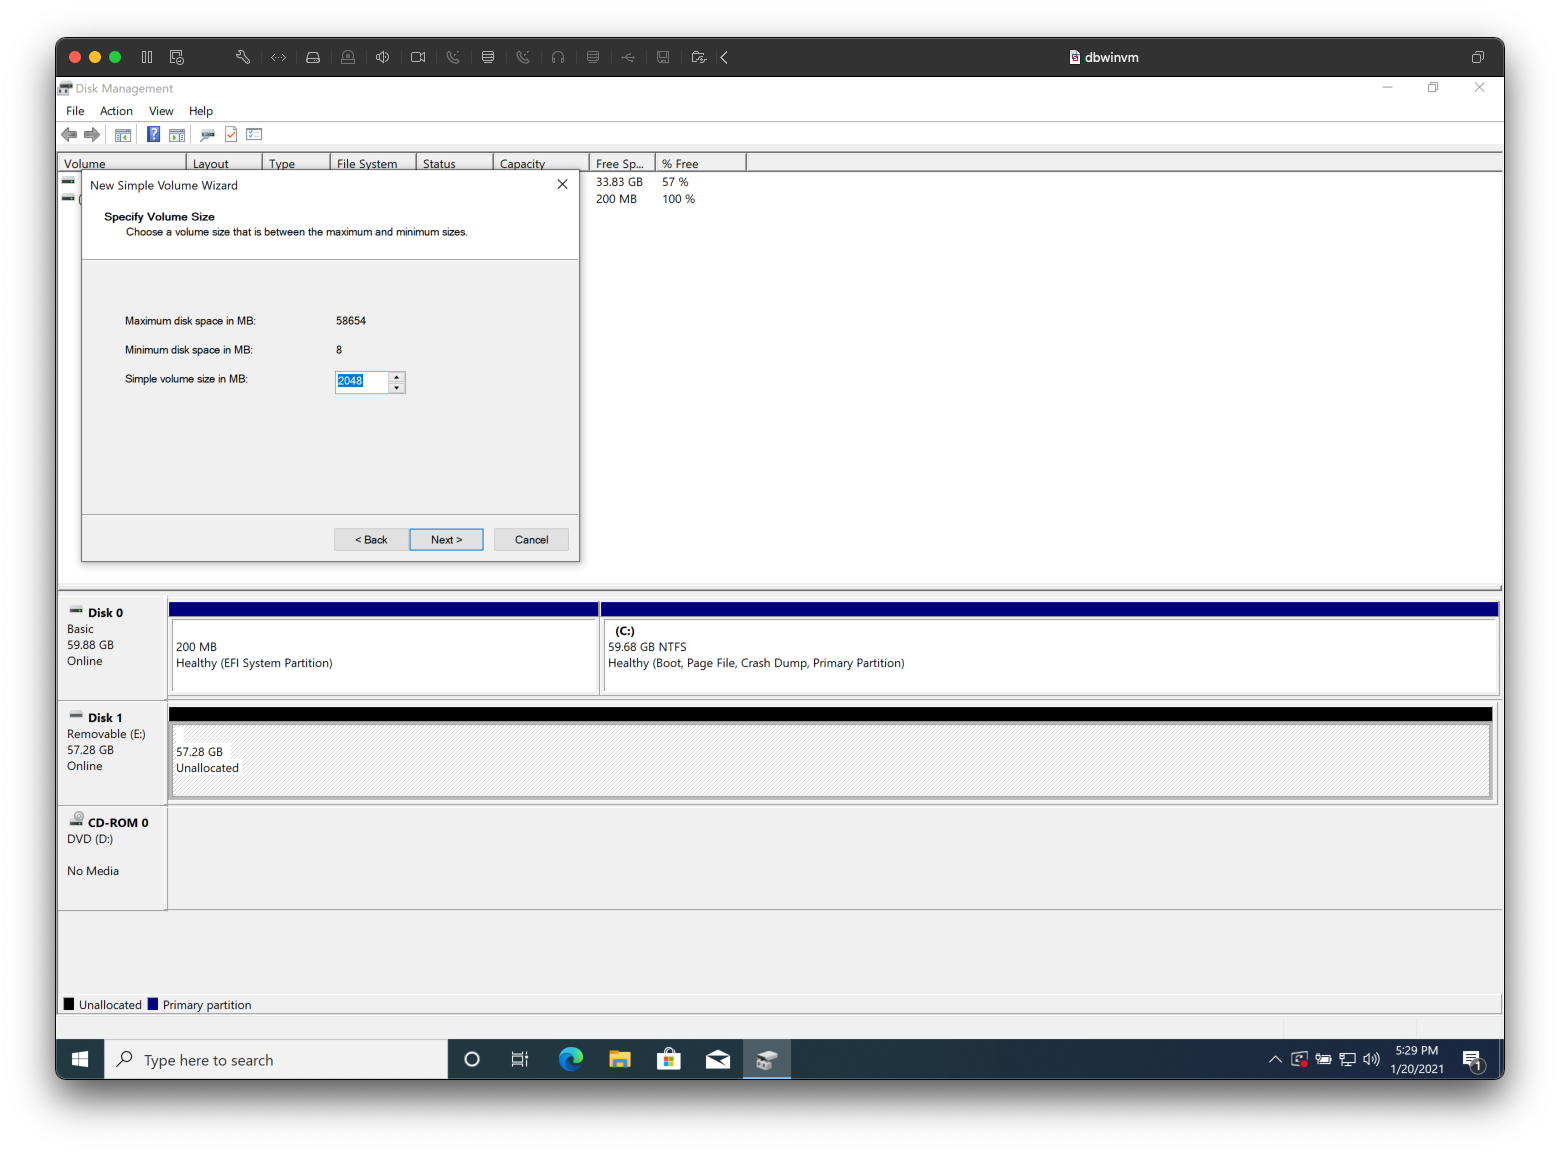
- Right click on where it says “Unallocated” and click “New Simple Volume…”.
- With the “New Simple Volume Wizard” on your screen, please click on “Next” to continue.
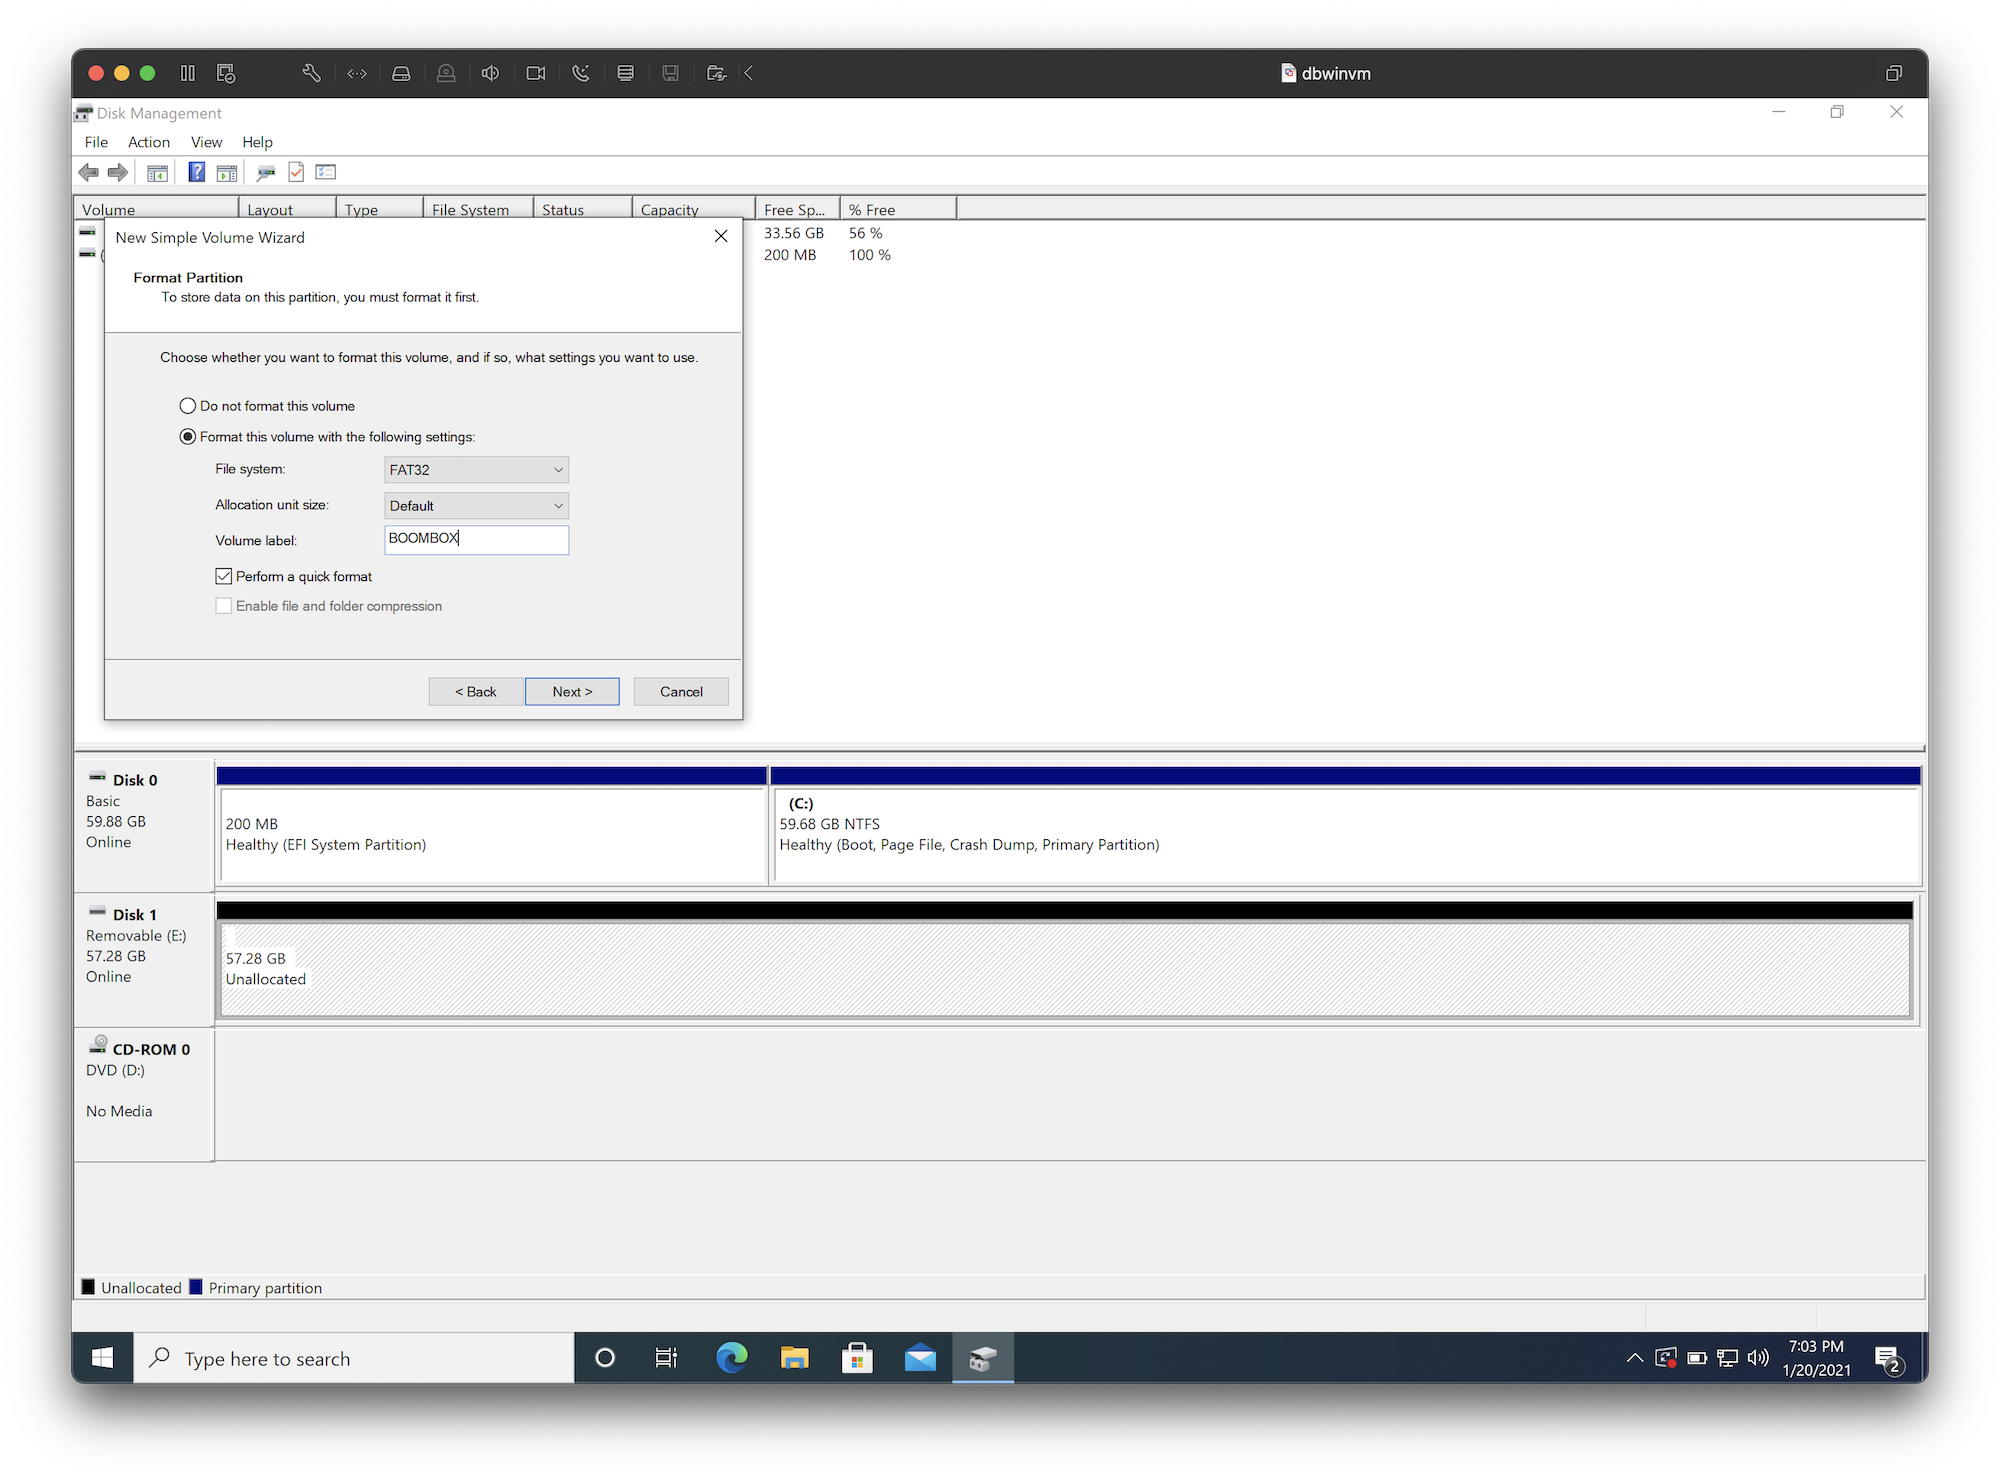
- Enter in “2048” for the “Simple volume size in MB” and click “Next”.
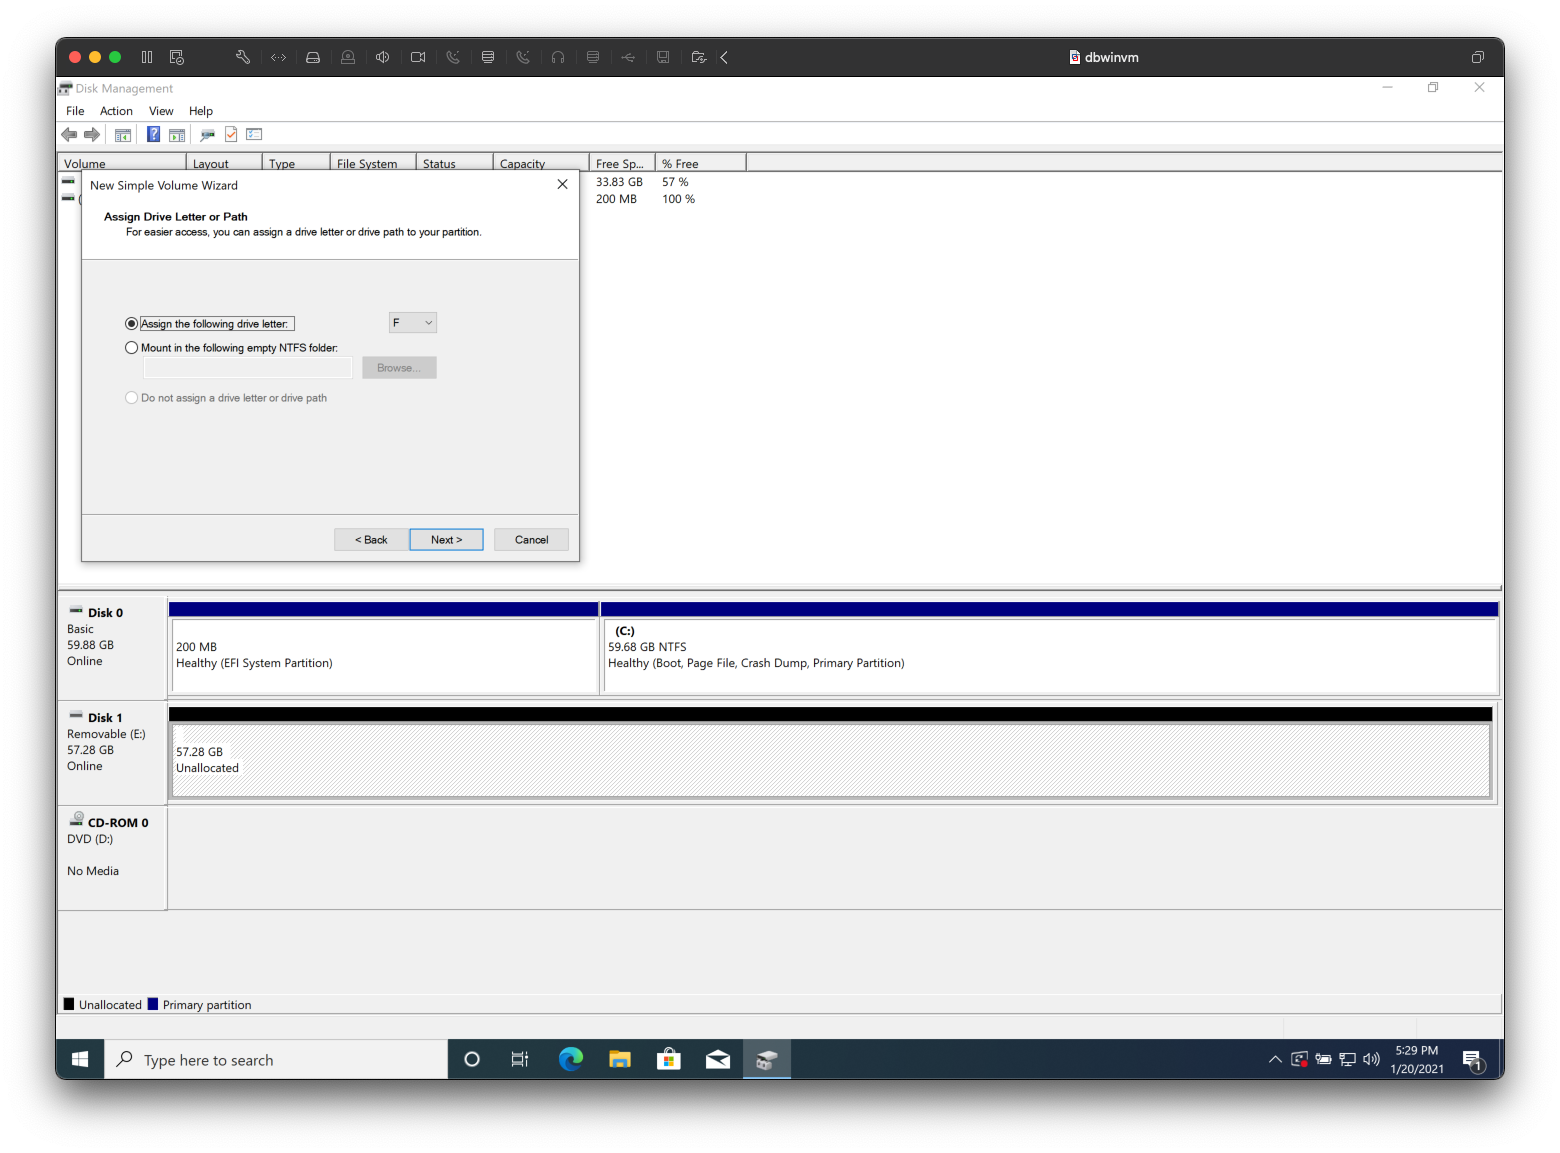
- Accept the default drive letter settings by clicking “Next”.
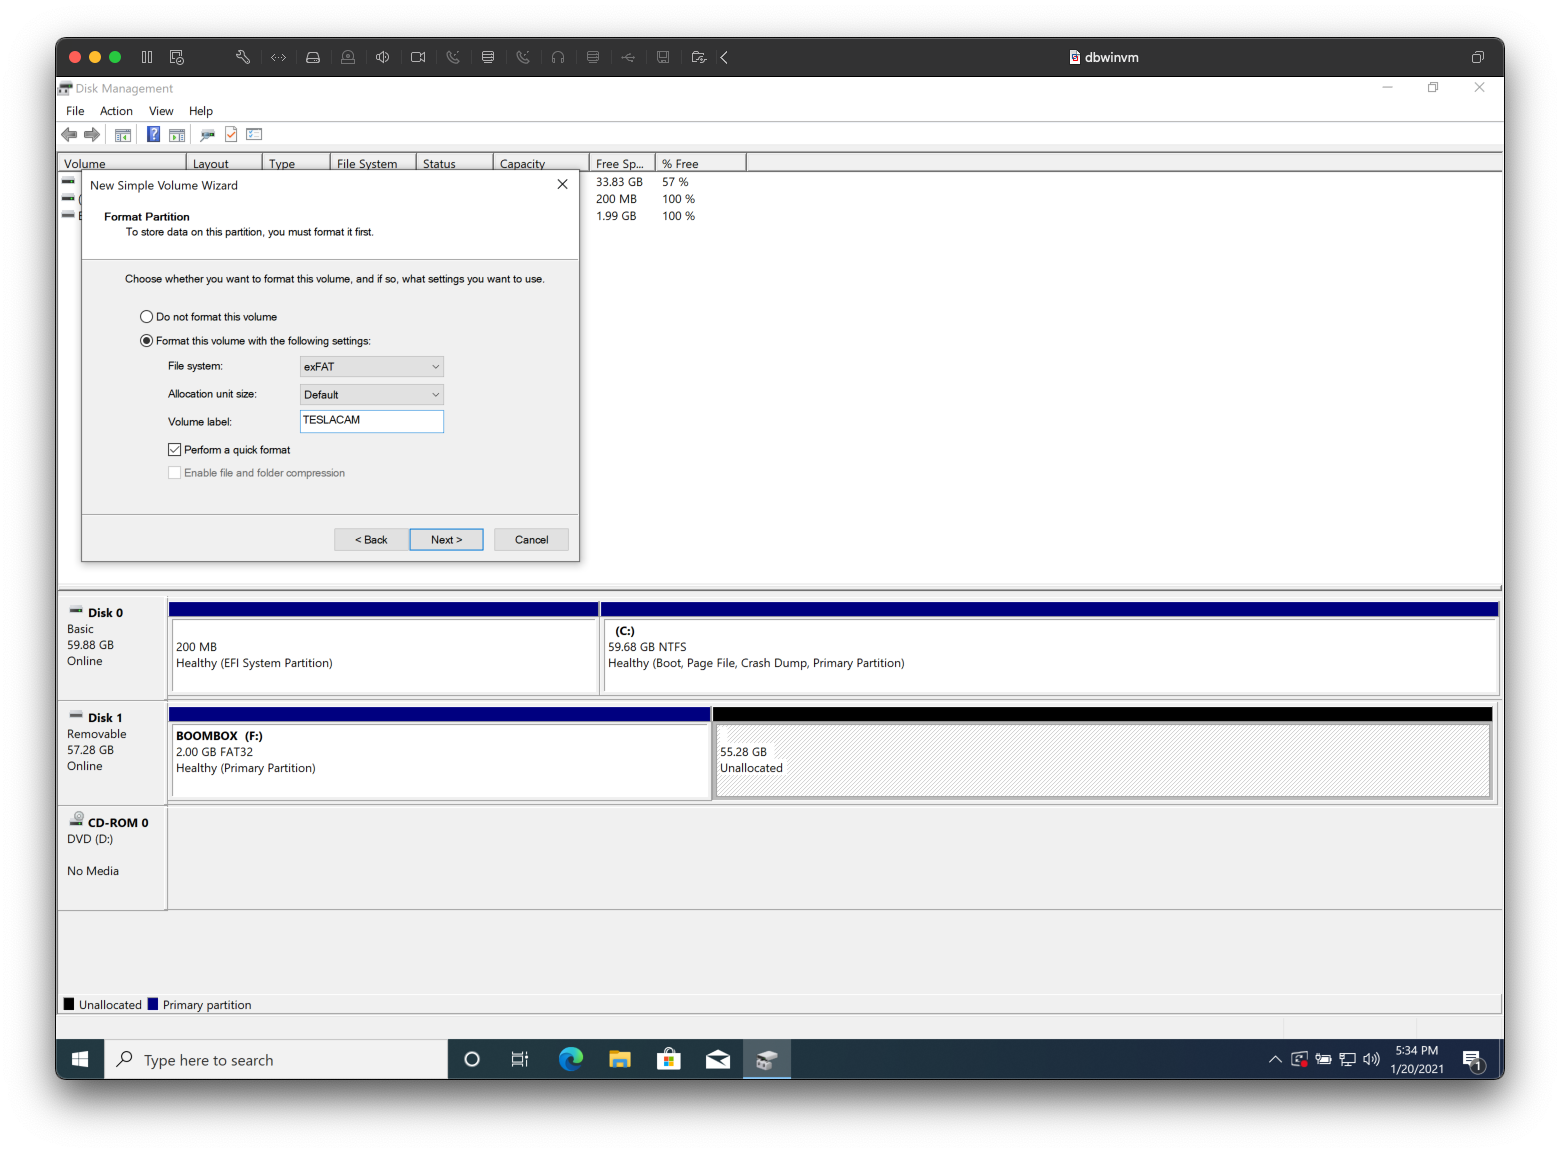
- Make the following sections, click “Next”, and then “Finish” to proceed.
- NOTE: If you would like to create a partition for Paint Shop (custom license plates, vehicle wraps, etc.) and/or USB music, please re-do the previous step. For the music partition you will need to specify a larger partition size to match the size of your music files.
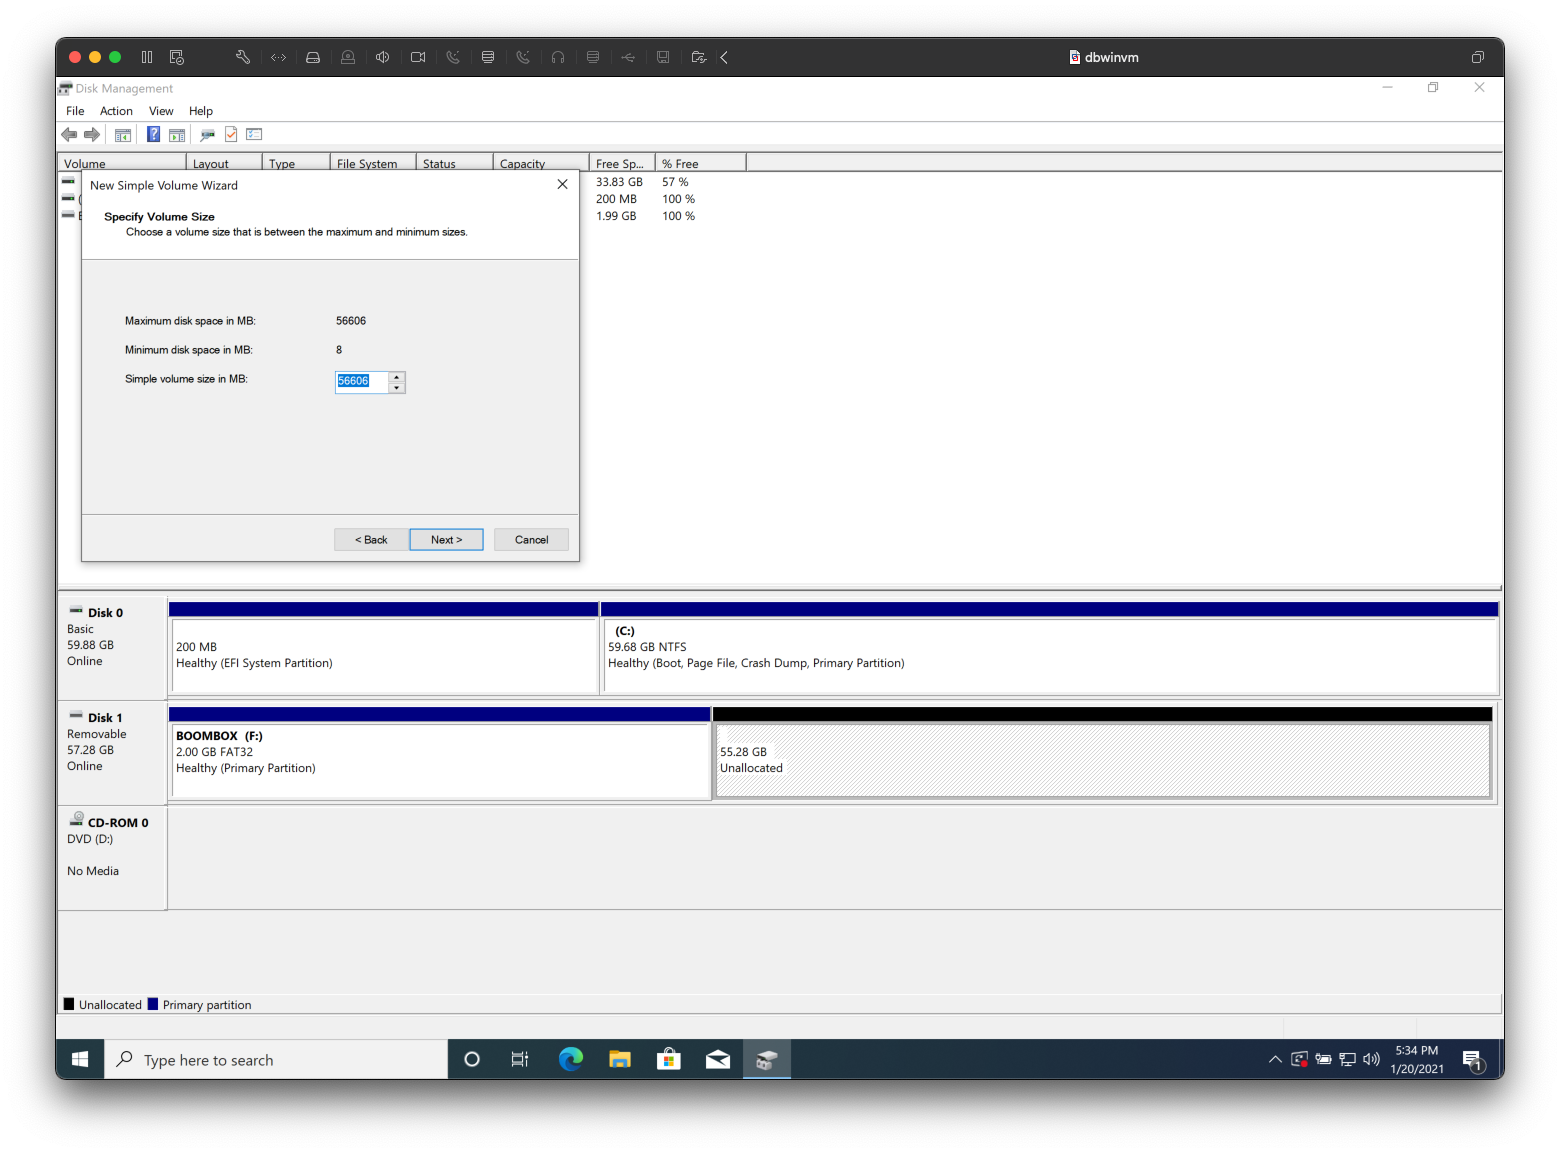
- Again right click on where it says “Unallocated” and click “New Simple Volume…”.
- With the “New Simple Volume Wizard” on your screen, please click on “Next” to continue.
- Accept the default volume size by clicking “Next”.
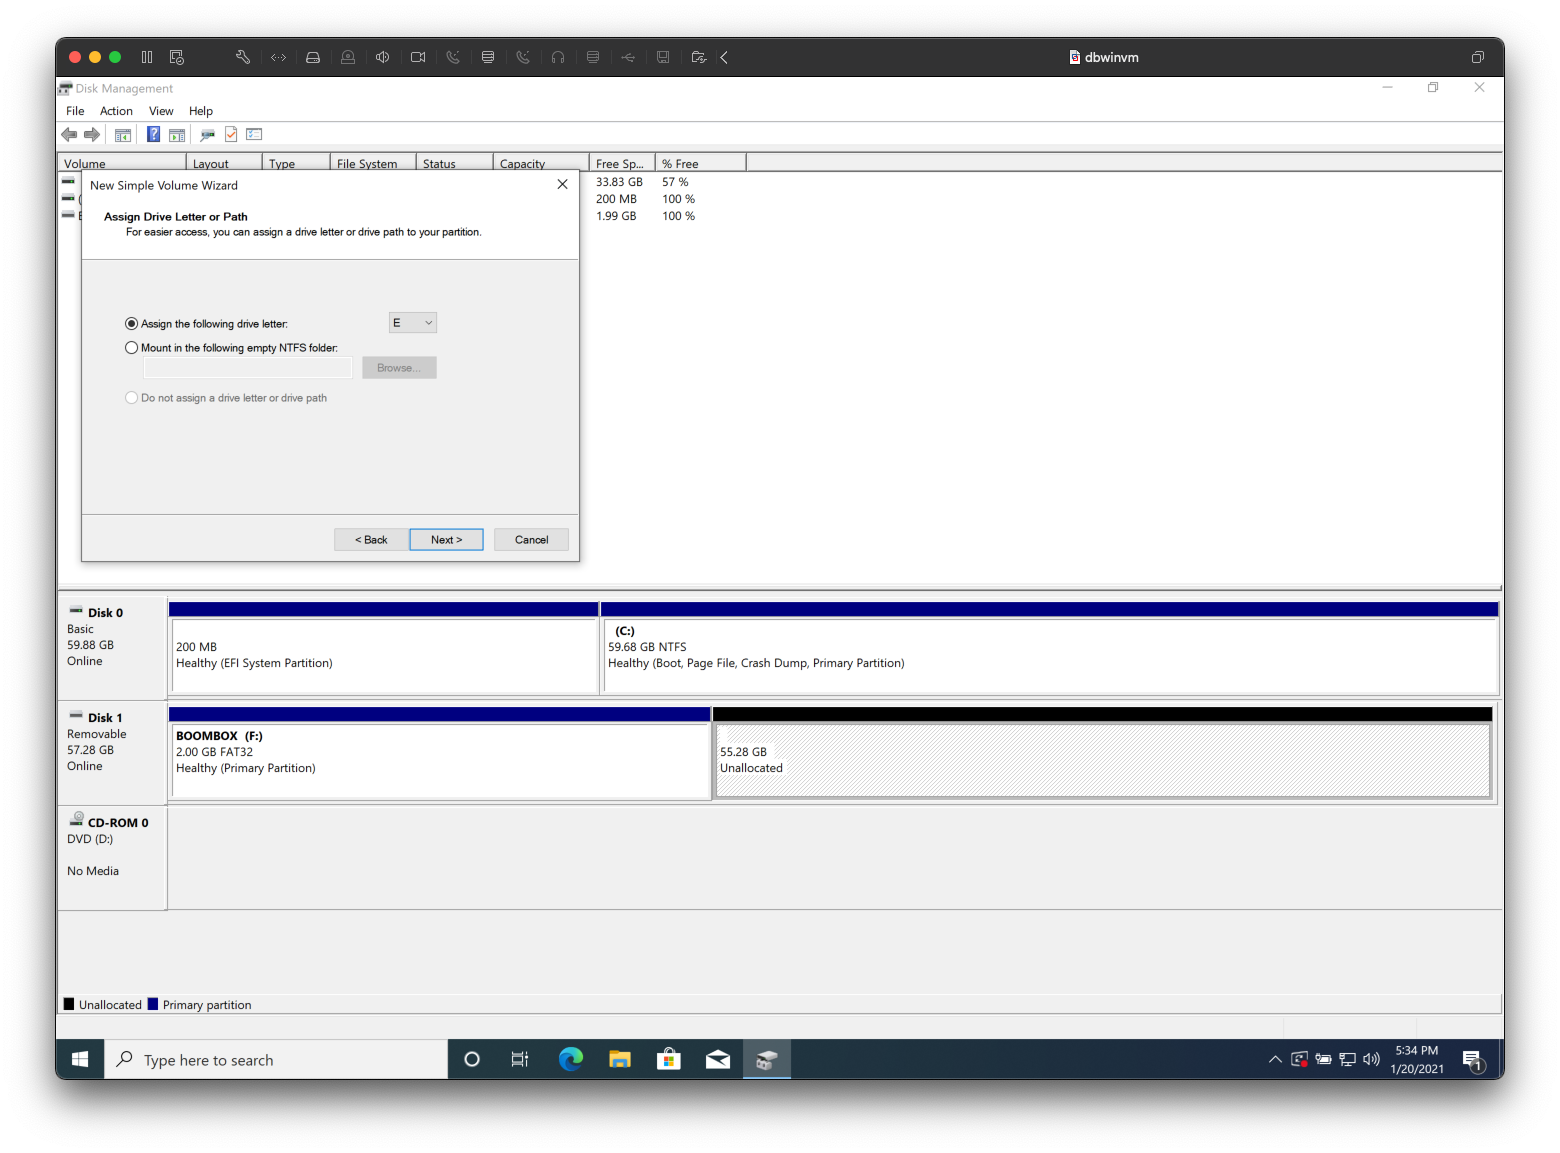
- Accept the default drive letter settings by clicking “Next”.
- Make the following sections, click “Next”, and then “Finish” to proceed.
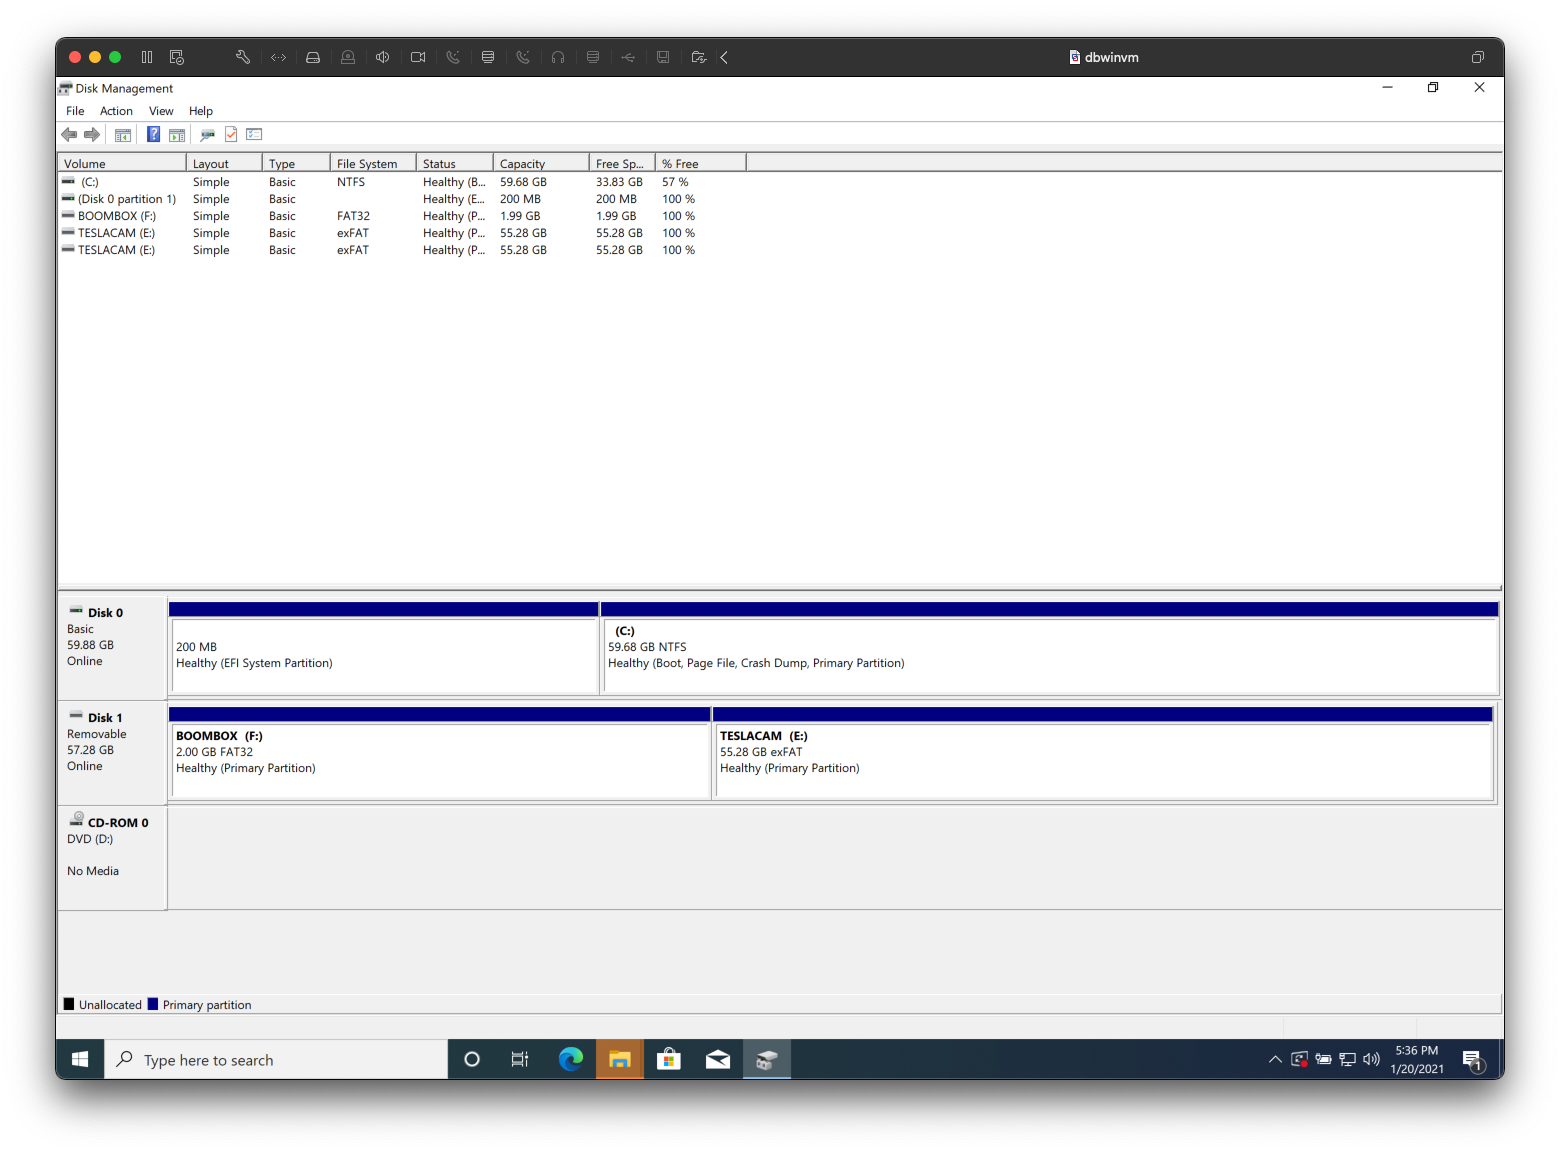
- At this point you should see at least 2 partitions as seen in the screenshot below.
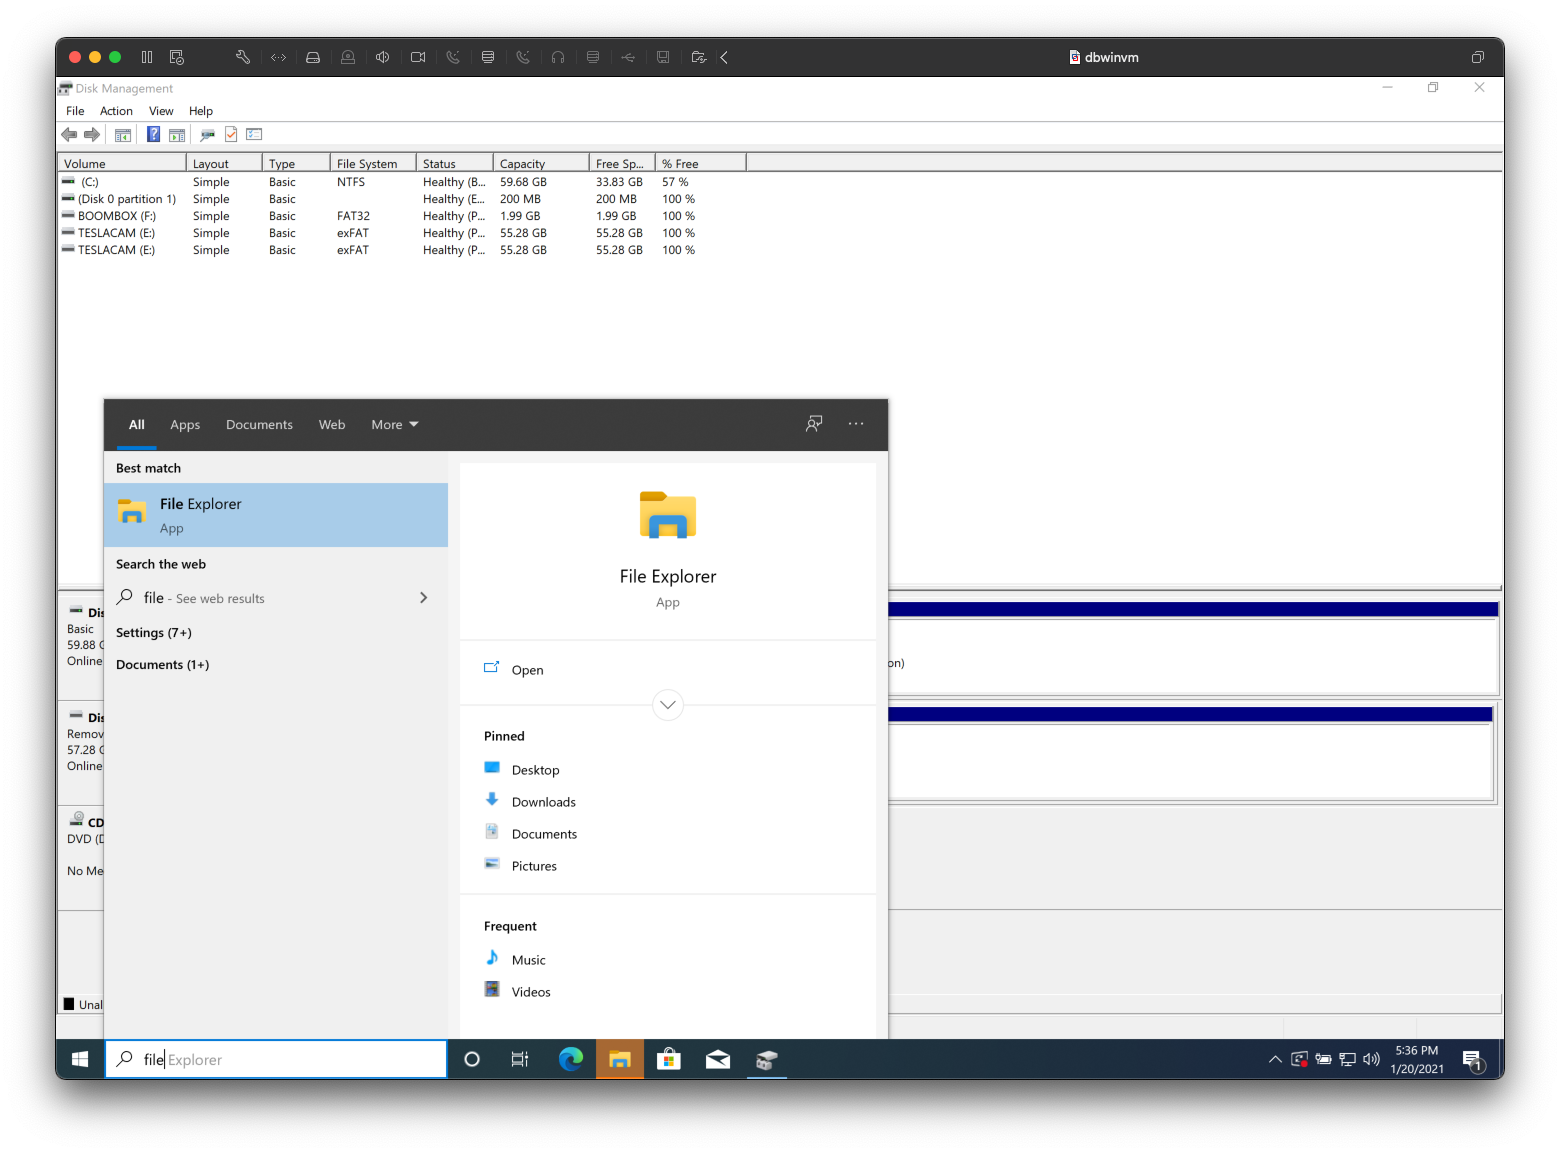
- Open up “File Explorer” by clicking the “Windows” icon, typing “file”, and then by selecting “File Explorer” from the list.
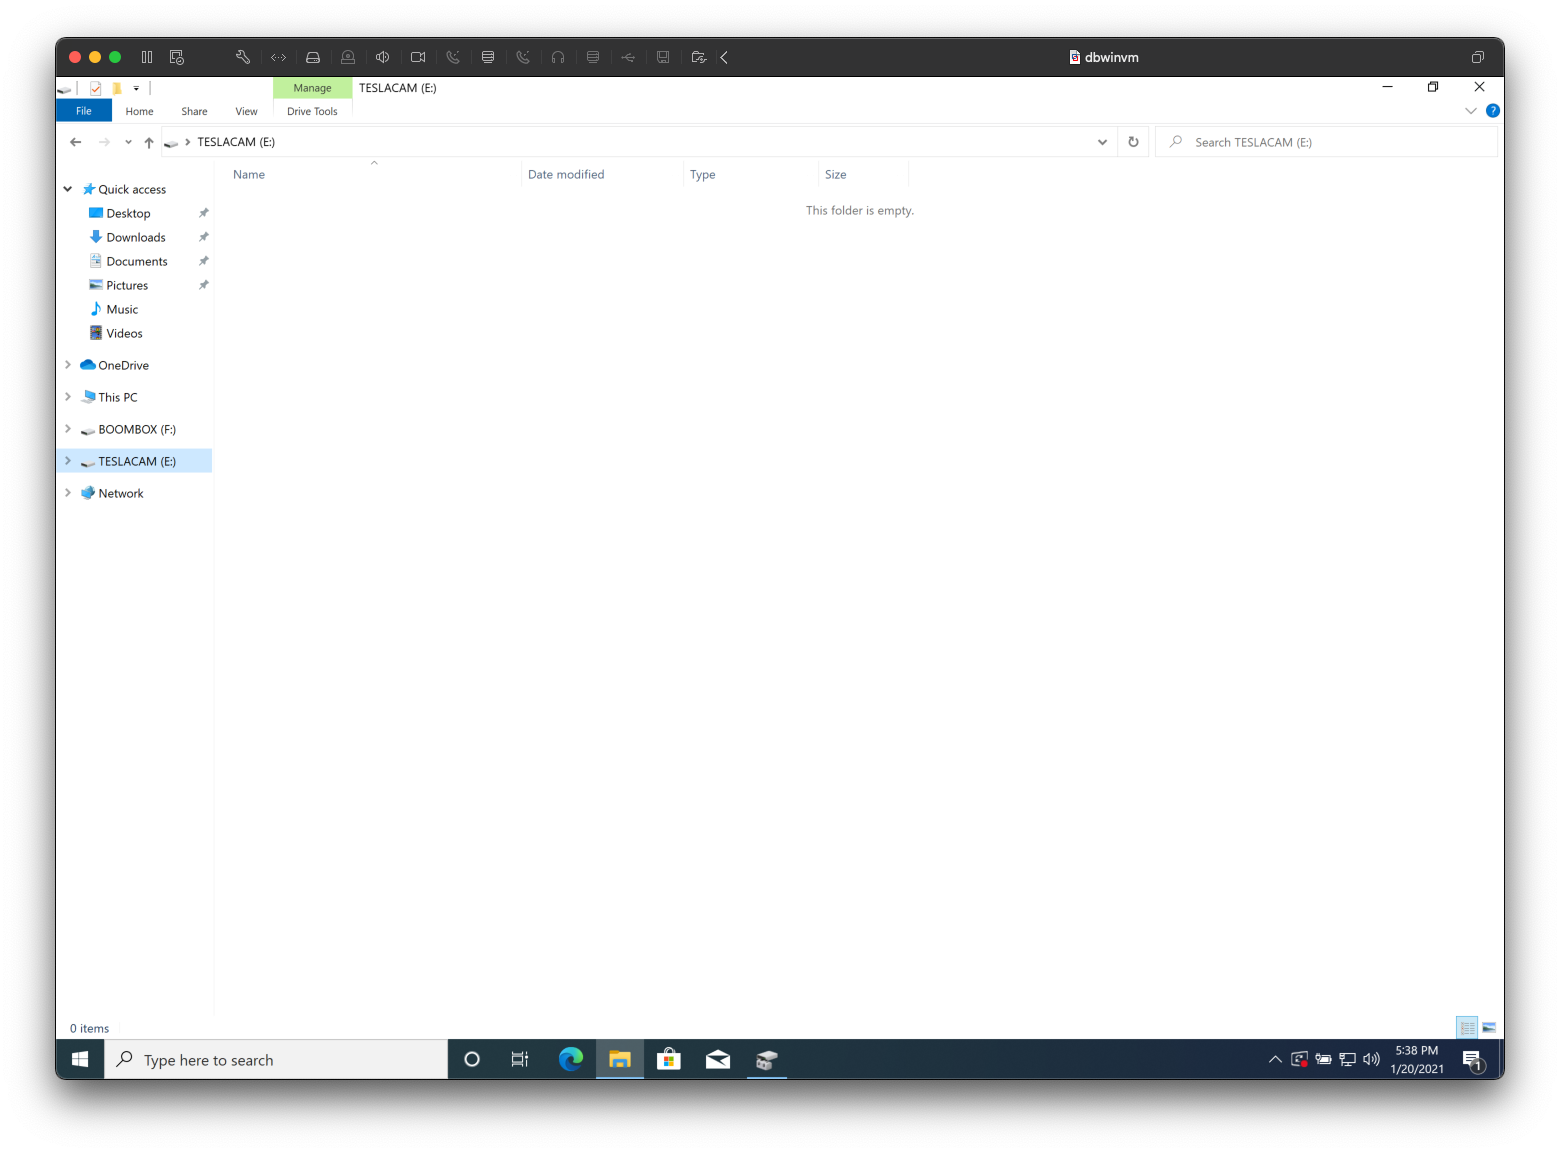
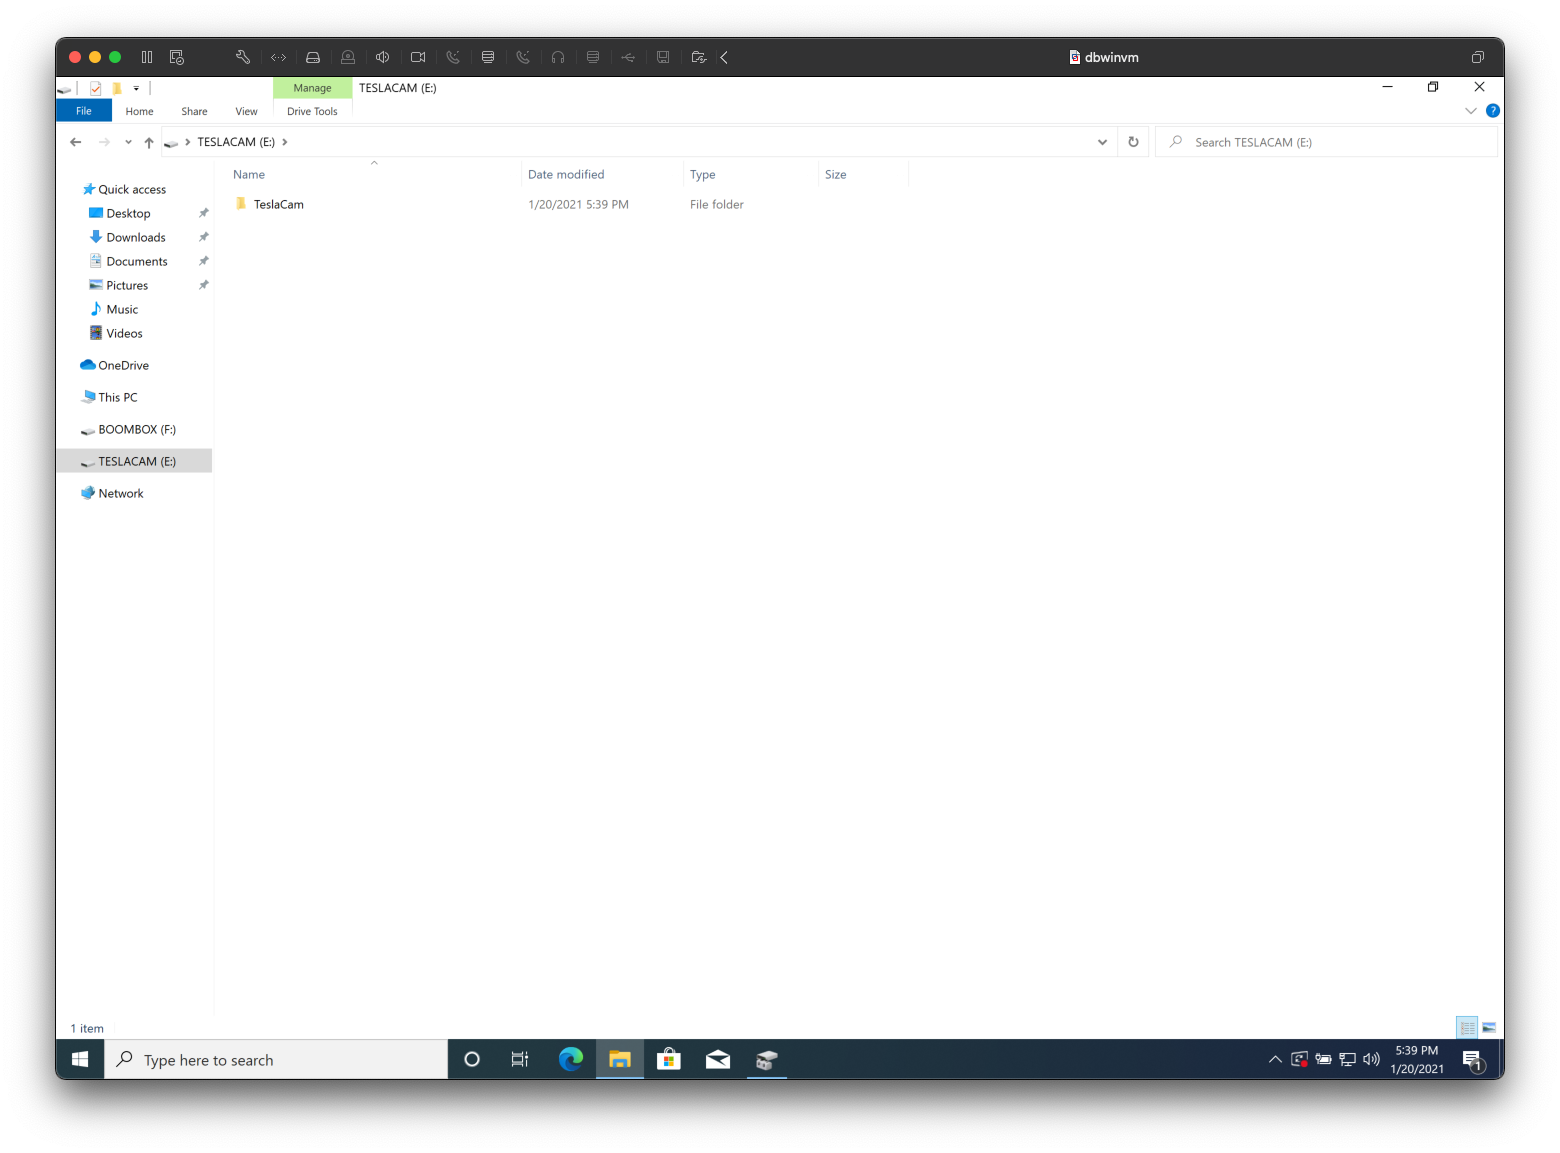
- With “File Explorer” now open, click on “TESLACAM” on the left hand side.
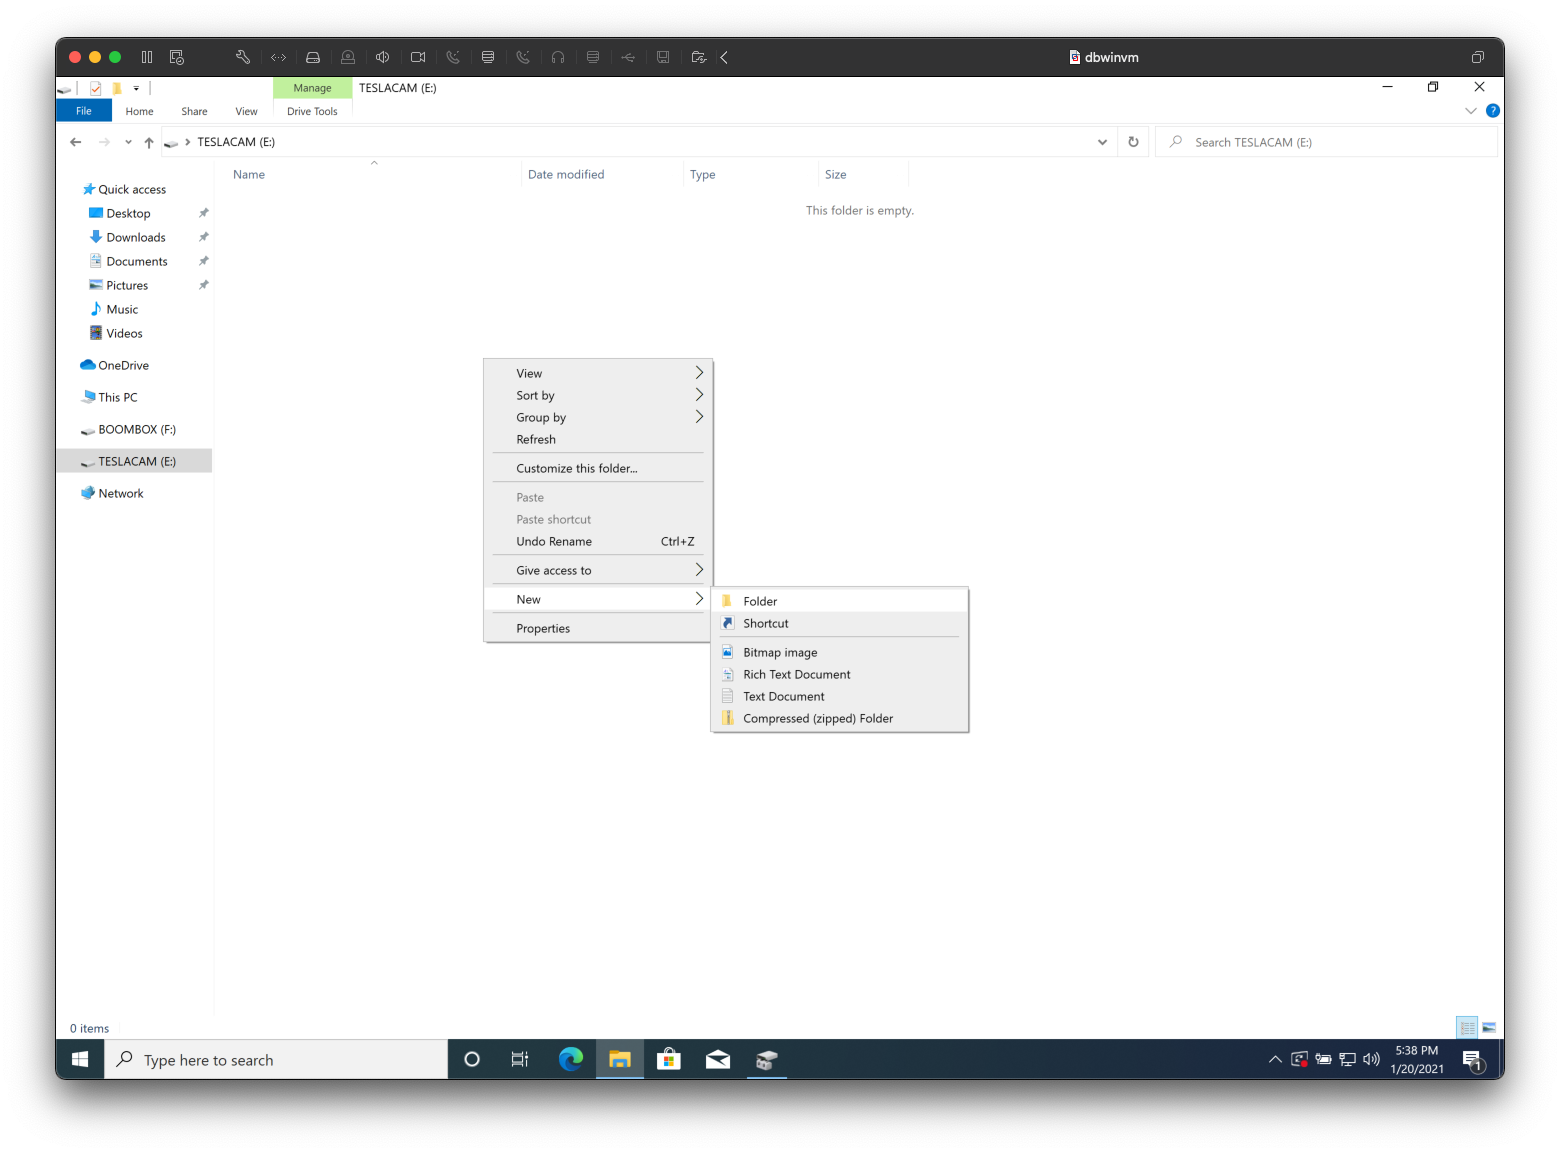
- Right click in the empty area of the window, select “New” -> “Folder”, and name it “TeslaCam”.
- Boombox
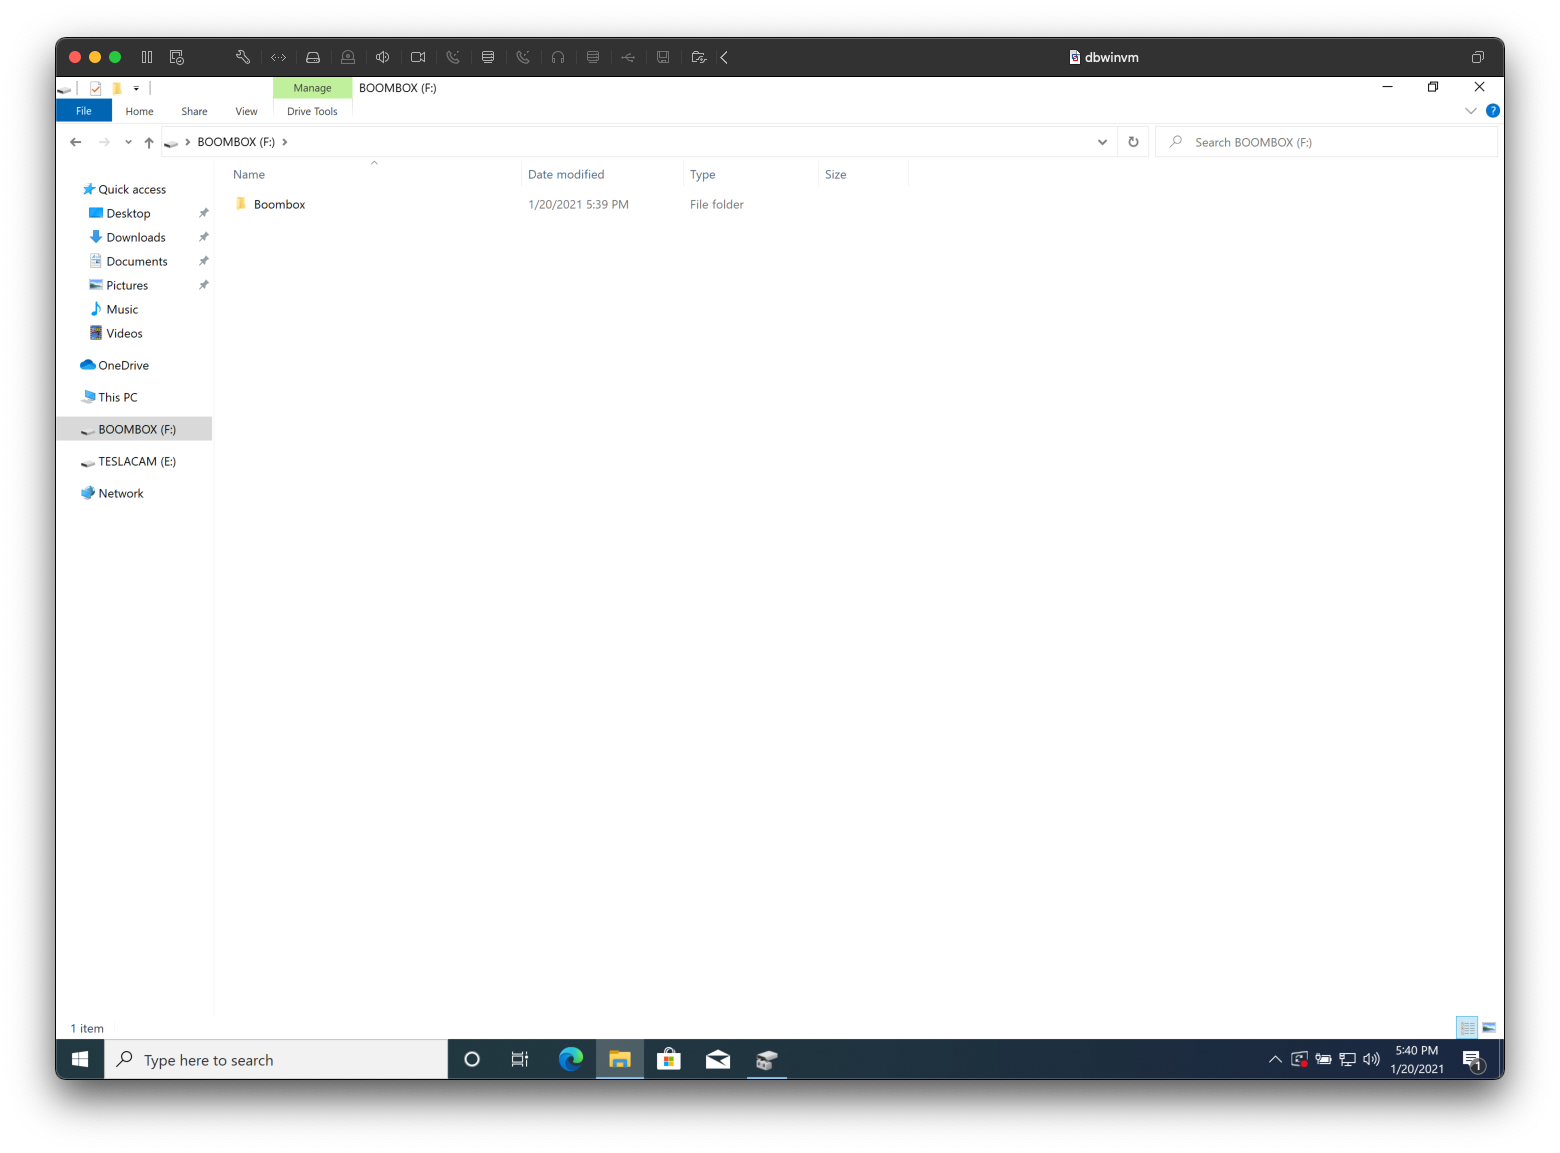
- With the “TESLACAM” partition now ready for use, we are now ready to move onto the “BOOMBOX” partition. Please click on “BOOMBOX” on the left hand side.
- Right click in the empty area of the window, select “New” -> “Folder”, and name it “Boombox”.
- Copy up to (5) sound files (mp3, wav, etc) to the “Boombox” folder.
- Copy up to (1) sound file (wav) to the root of the “BOOMBOX” drive. Make sure this file is named LockChime.wav.
- With the “TESLACAM” partition now ready for use, we are now ready to move onto the “BOOMBOX” partition. Please click on “BOOMBOX” on the left hand side.
- Lightshow
- Please click on “LIGTHSHOW” on the left hand side.
- Right click in the empty area of the window, select “New” -> “Folder”, and name it “LightShow”.
- Copy up the lightshow files (fseq) to the “LigthShow” folder and then cleanly eject the USB drive in Finder.
- NOTE: Only 1 custom LightShow is allowed in the folder at a given time.
- Paint Shop
- Please click on “PAINTSHOP” on the left hand side under “Locations”.
- Right click in the empty area of the window, select “New” -> “Folder”, and name it “LicensePlate”.
- Right click in the empty area of the window, select “New” -> “Folder”, and name it “Wraps”.
- Copy the license plate image file to the “LicensePlate” folder.
- NOTE: The license plate file must have a filename less than or equal to 32 characters, be a PNG file, and have a resolution of 420x200.
- Copy the wrap file(s) to the “Wraps” folder.
- Cleanly eject all Tesla USB partitions using File Explorer.

At this point you may connect the USB drive to your Tesla. Once your USB drive is connected to your vehicle, you can navigate to to “Toy Box” for the Boombox and Paint Shop apps.
Other Links