Intro
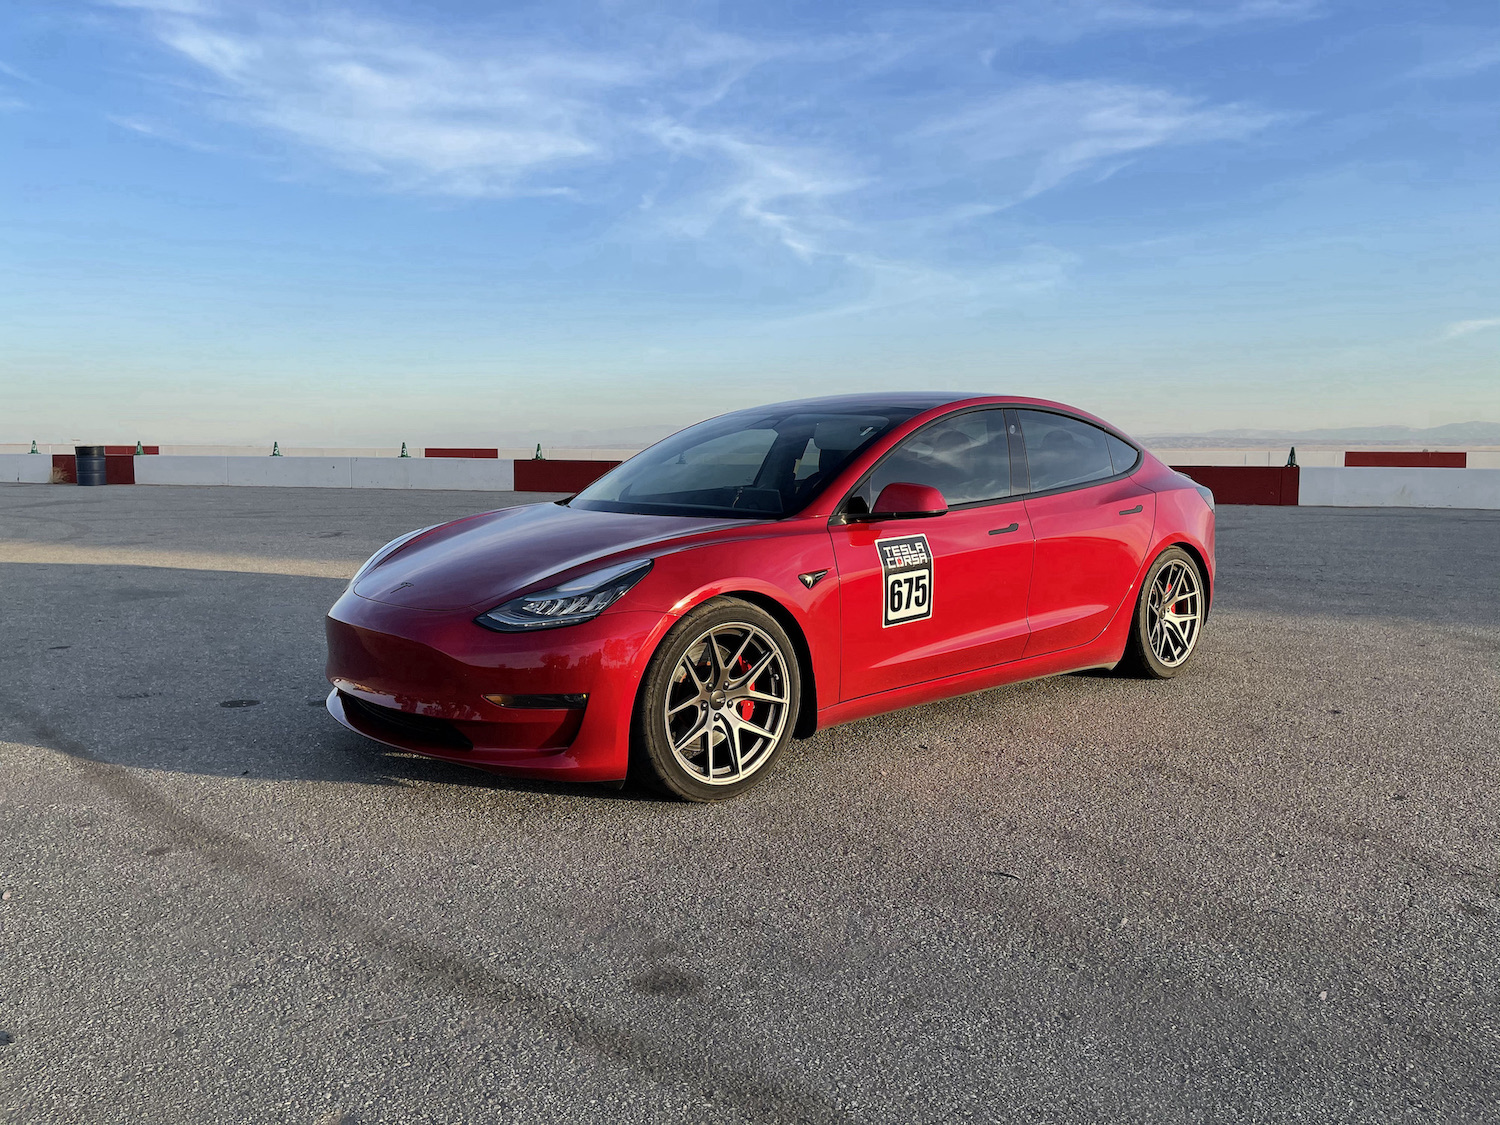
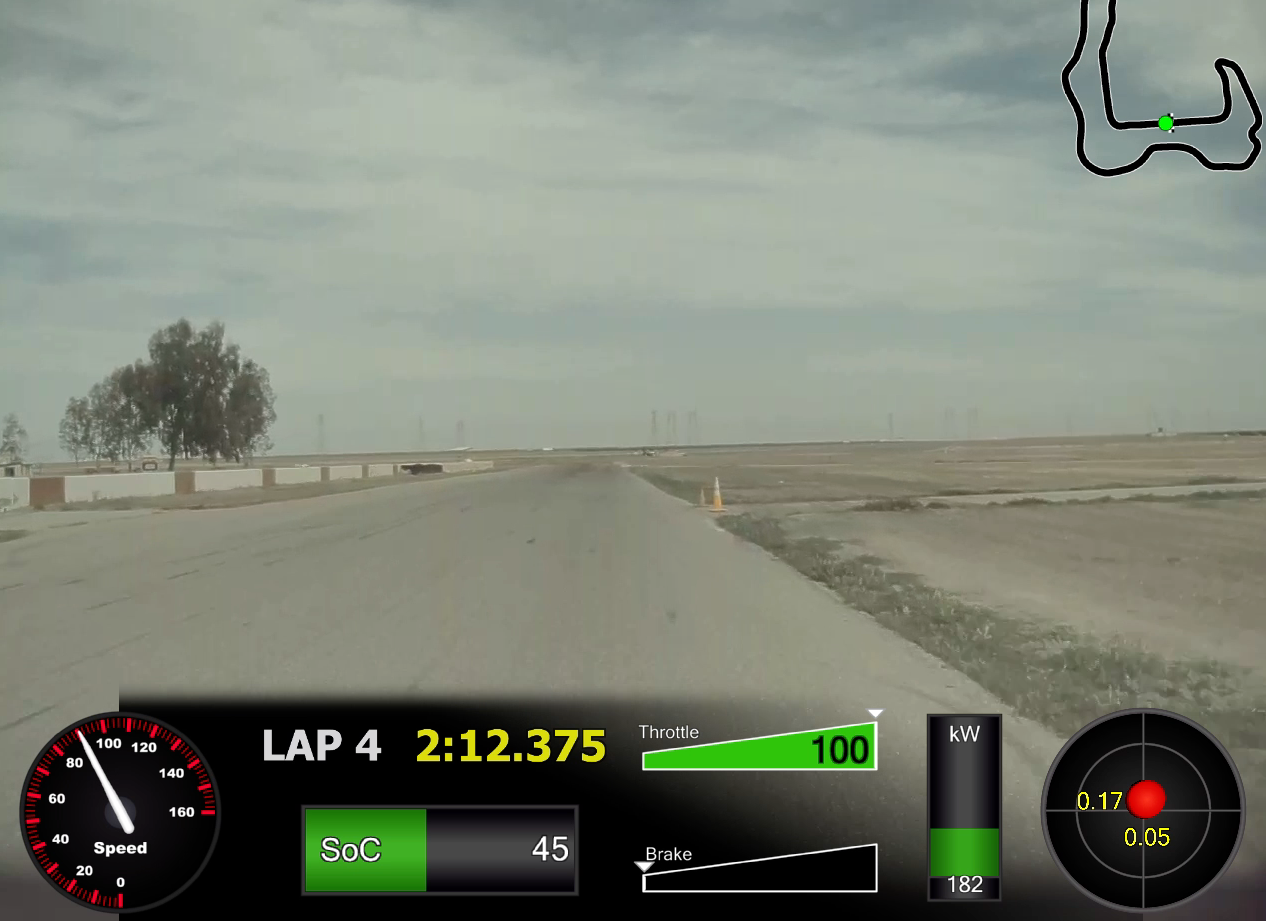
After accepting delivery of my Model 3 Performance a little over 2 years ago I finally made the journey to Buttonwillow, CA for a TeslaCorsa event. It was my first time on a proper road course with my Model 3 and only 1 day after I had a bunch of track-related mods installed. During the event I had plenty of time to tinker with Track Mode and I was impressed by how quickly I was able to get up to speed thanks to the cars neutral yet intelligent handling characteristics. Because I was using Track Mode, the car recorded telemetry data and video using one of the front-facing cameras of every lap while on track. After the trip, I spent some time playing with RaceRender which allows you to add custom, data-fed overlays to your track videos. I ran into a few quirks along the way so I put together a short how-to article on how to get everything working.
Setup Steps
To get started you will first need to:
Make sure you have RaceRender, my RaceRender template file, and ffmpeg downloaded & installed on your workstation (links below).
Download all track mode-generated telemetry data & video files to your workstation.
TIP: I recommend renaming the telemetry data files using the following format:
- Tesla-M3P-<TRACK_NAME>-
-Session<SESSION_NUMBER>.csv
- Tesla-M3P-<TRACK_NAME>-
At least on macOS I was unable to read the Tesla Track Mode-generated video files using RaceRender (all I got was a black screen). To resolve this issue I ran each video file through ffmpeg using the parameters mentioned below:
# ffmpeg -y -i laps-2021-04-03-10_08_24.mp4 -preset ultrafast -allow_sw 1 -crf 18 -b:v 30000K -c:v h264_videotoolbox Tesla-M3P-Buttonwillow-20210403-Session1.mp4
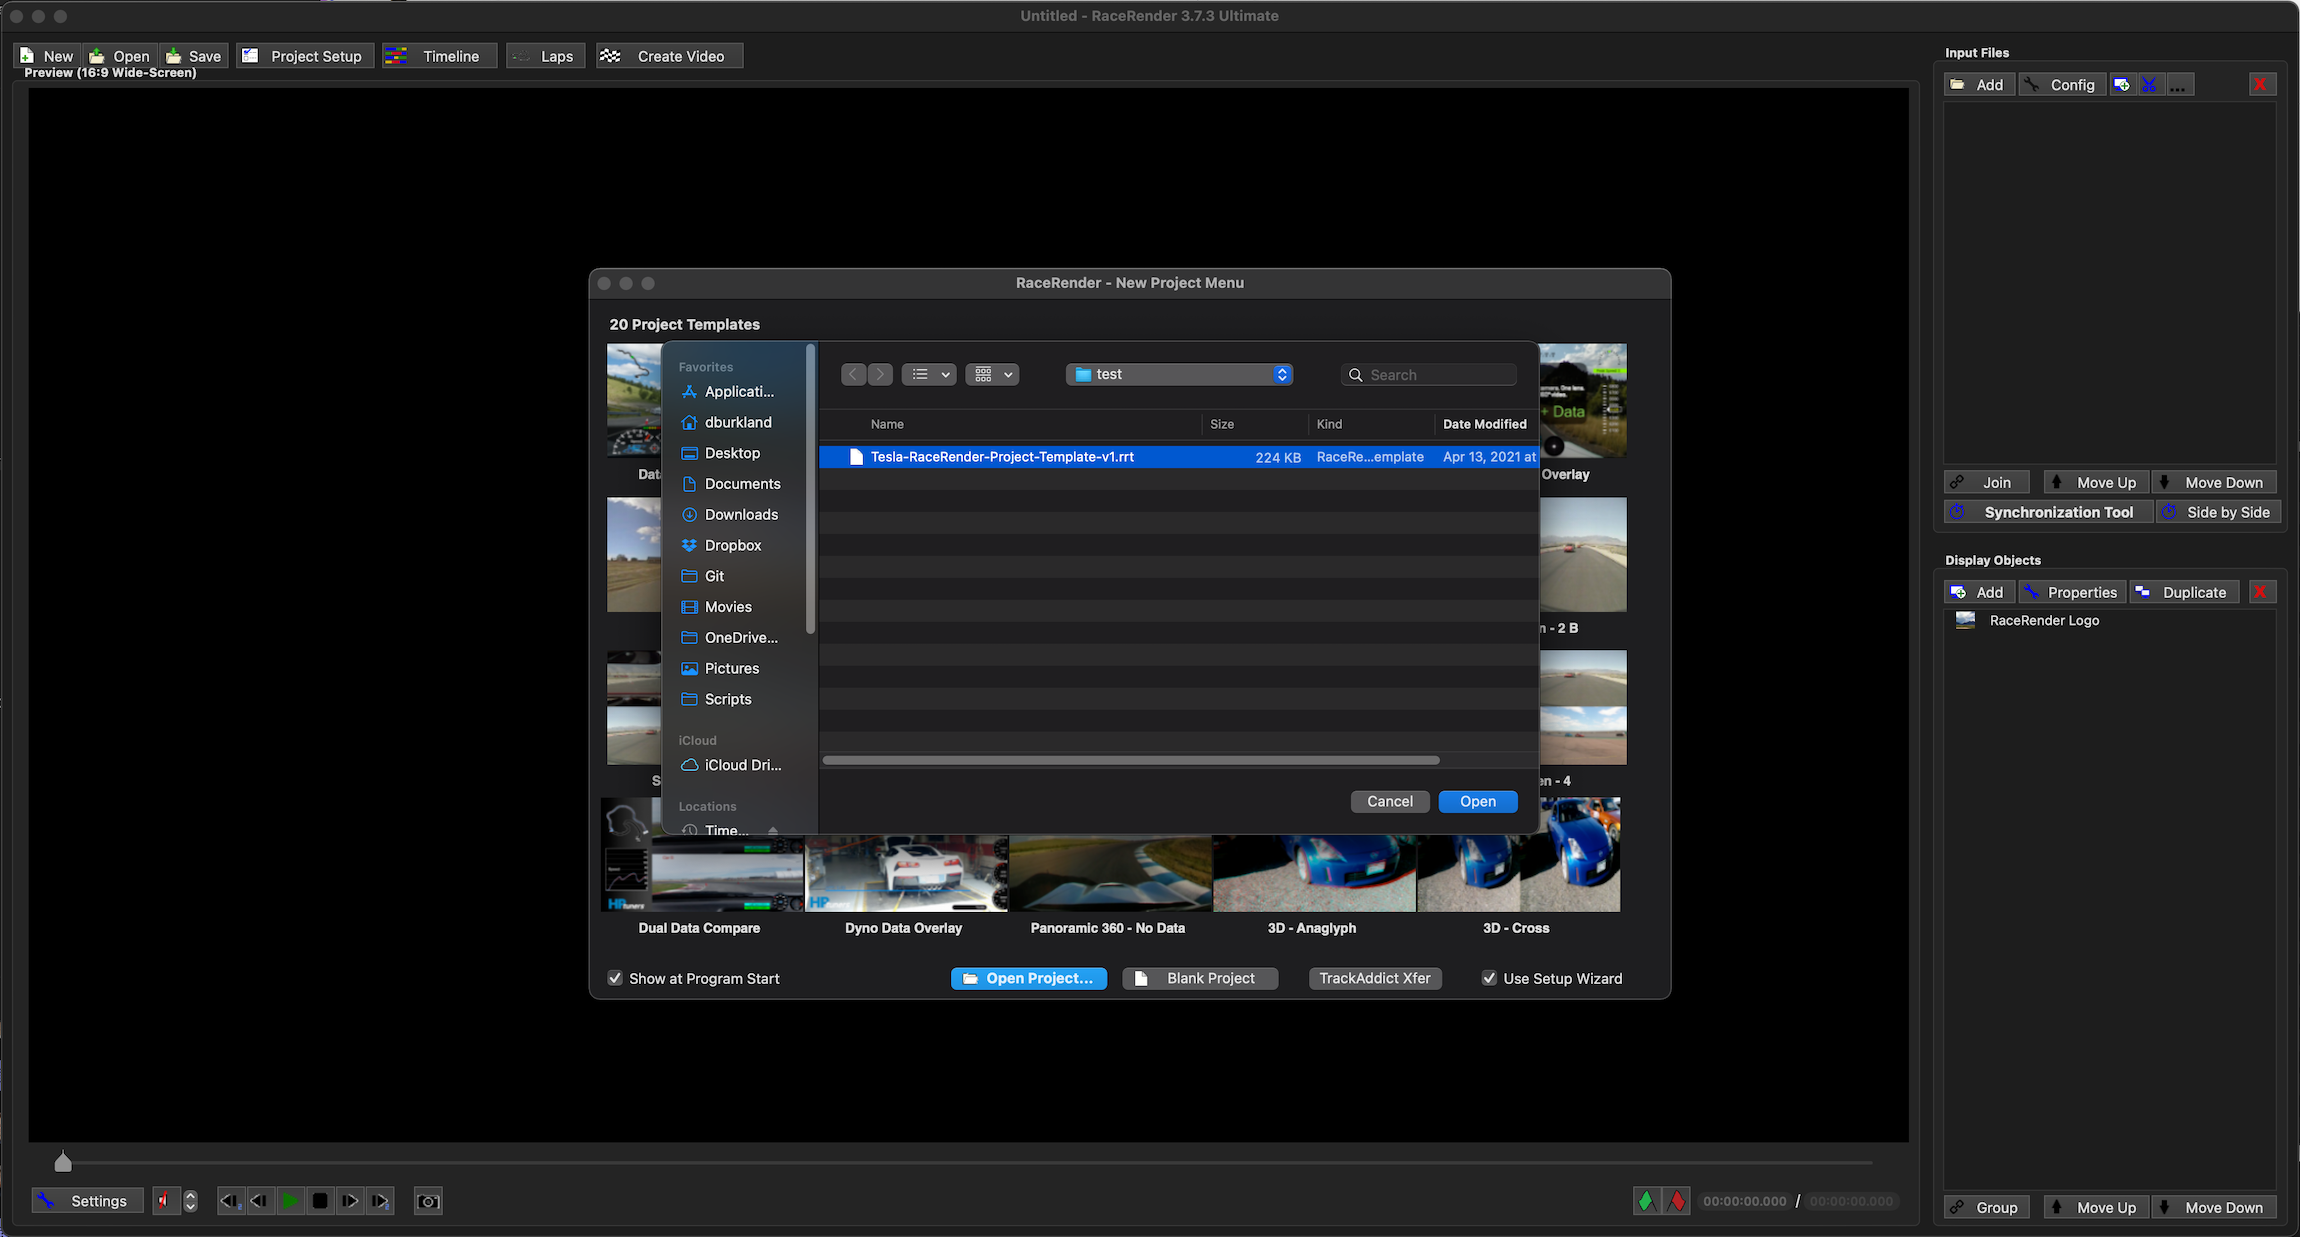
Open RaceRender and close the “New Project Menu” screen.
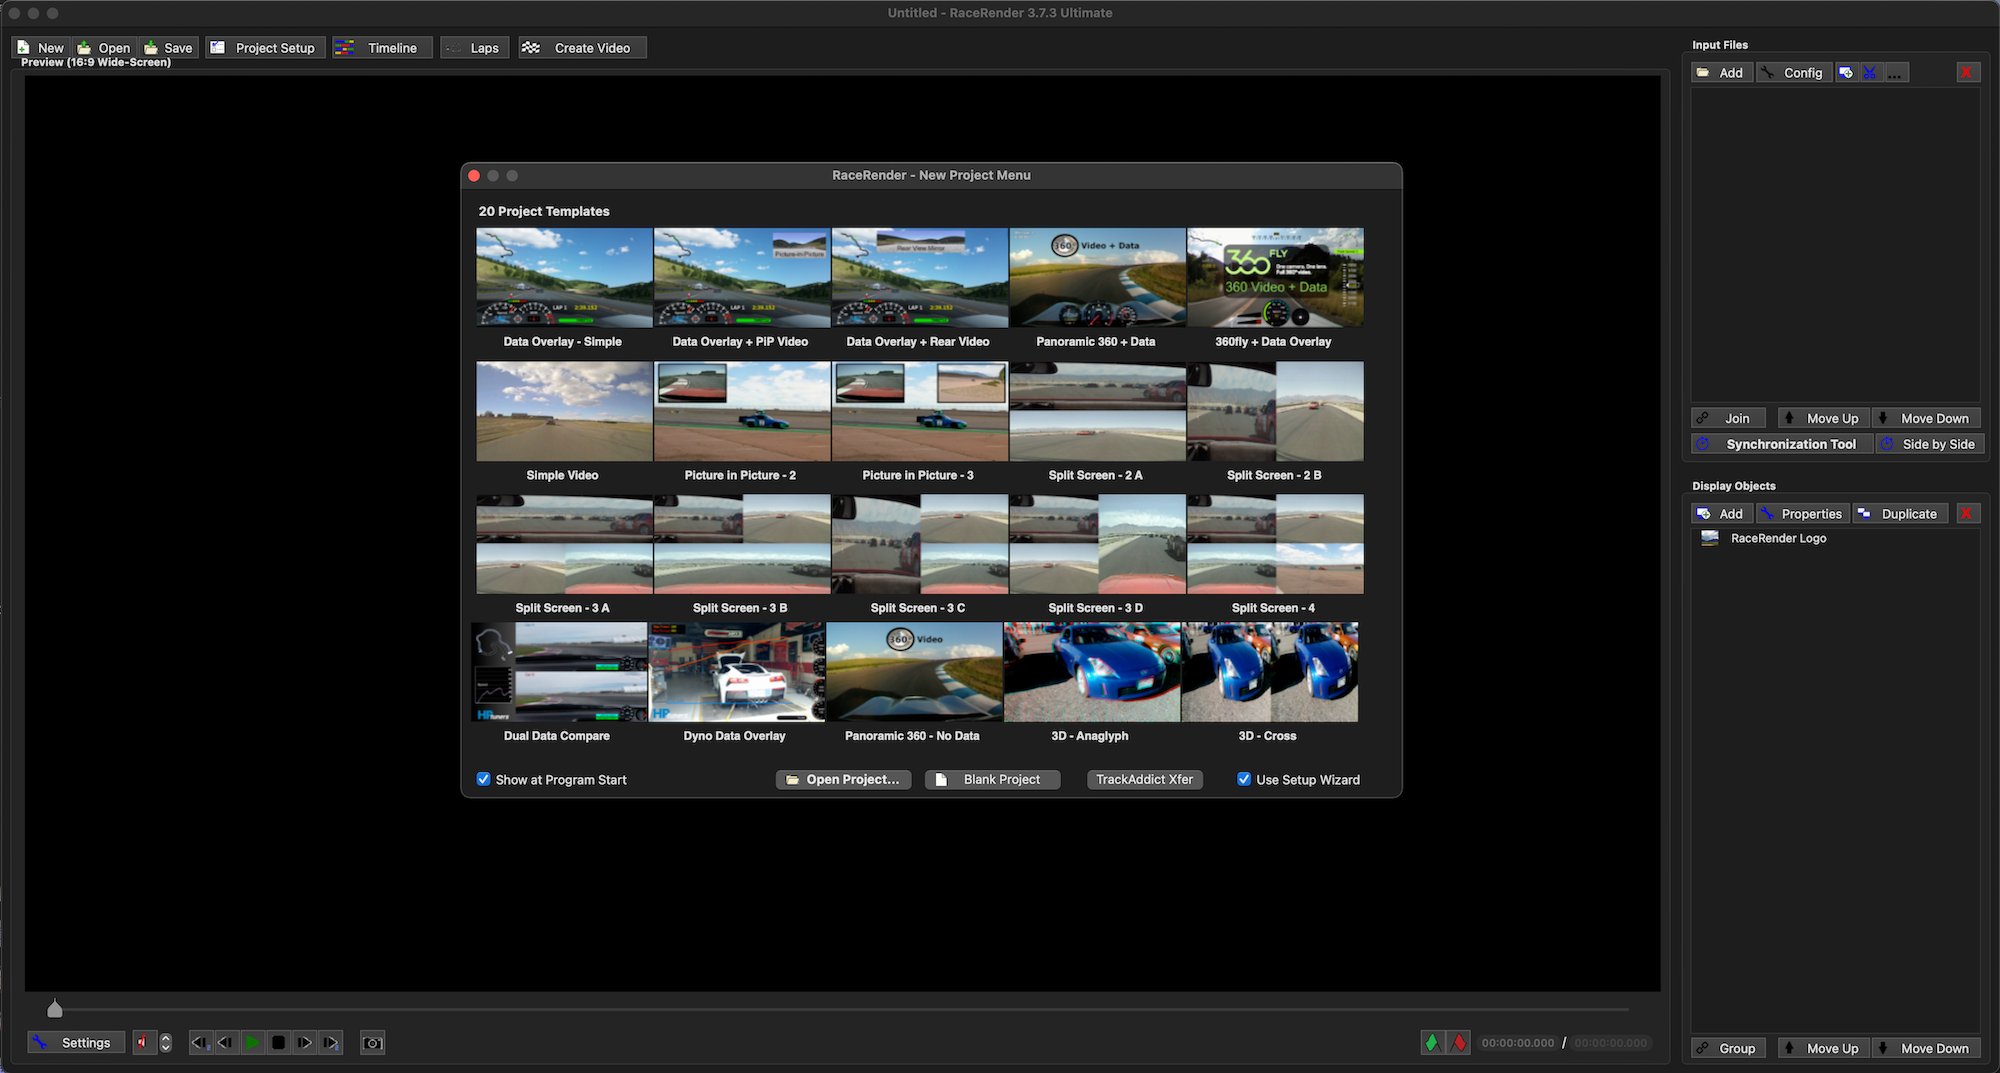
Next please select “File” and “New Project from Template…”.
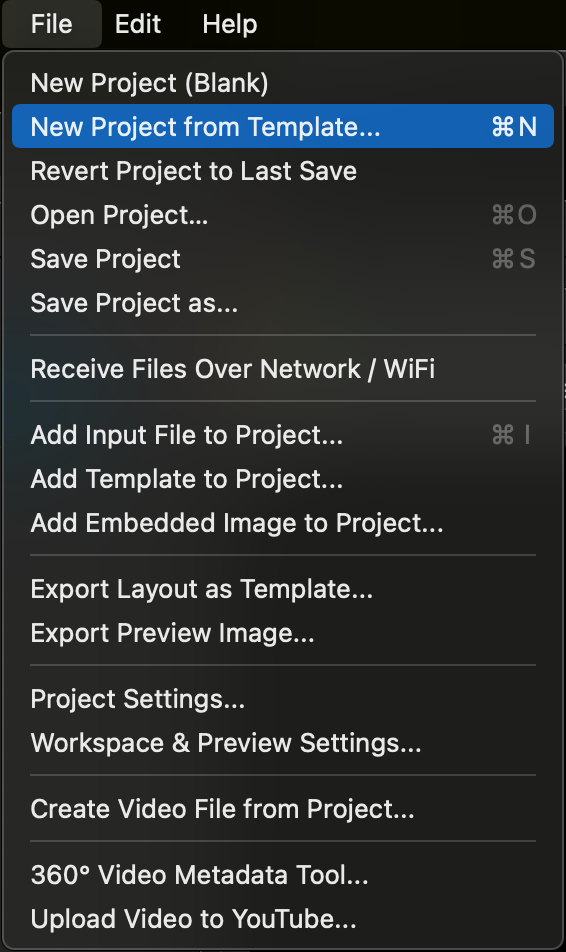
Click “Open Project” and double click on the “Tesla-RaceRender-Project-Template-v1.rrt” file you previously downloaded.
You will then need to point RaceRender at the first telemetry data + video file pair.
Use the “Side by Side” tool to make sure the telemetry data lines up with what is being shown in the video.
- NOTE: If you notice that the lap counter is off you will need to modify the telemetry data file using the “Telemetry Data Correction Process” mentioned below.
When you are ready click “Create Video” to generate the appropriate output video.
Links